
| Home | Empennage kit | Wing Kit | Fuselage Kit | Finish Kit | Power Plant Kit | Avionics | Paint | Interior | Home |
 |
|||||||||||
|
|||||||||||
| SPAR ASSEMBLY | REAR & STUB SPARS | WING RIBS | STALL WARNING | WING SKINS | FLAPERON | BUILDERS LOG |
|
SB 18-02-02 Stabilator Front Spar |
|
|||||||||||
| Page 01 | ||||||||||||
|
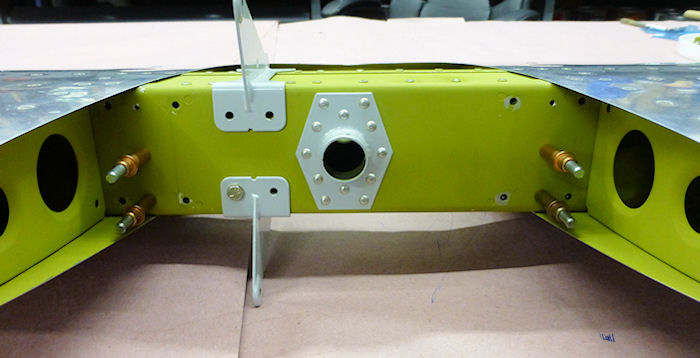
Step 01: Remove the Hinge Brackets. Drill out # 30 and remove the three center rivets, Cleco as you go to help keep the rib flange from moving. 05/04/18 |
 |
|||||||||||
|
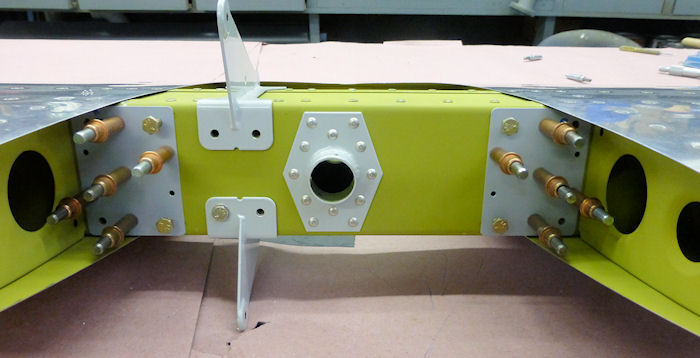
Step 02: Deburr, Scuff and Prime the Stabilator Hinge Doublers. Cleco the Doublers into the holes just drilled out and add a few bolts to insure the doublers are in the perfect alignment. Match Drill #30 the remaining eight holes into the Stabilator Spar, cleco as you go. |
 |
|||||||||||
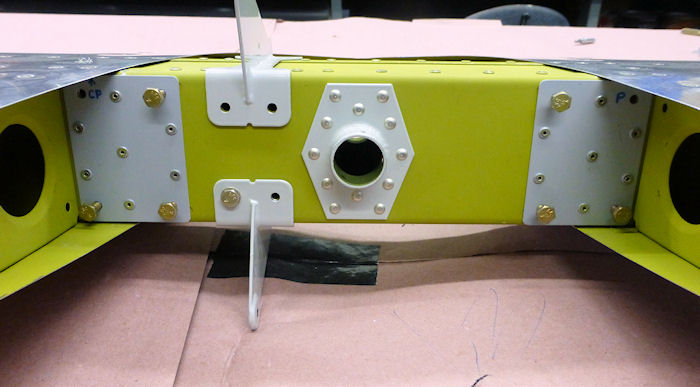
| Step 03: Remove, Deburr, Clean, reinstall, cleco then rivet as shown. |
 |
|||||||||||
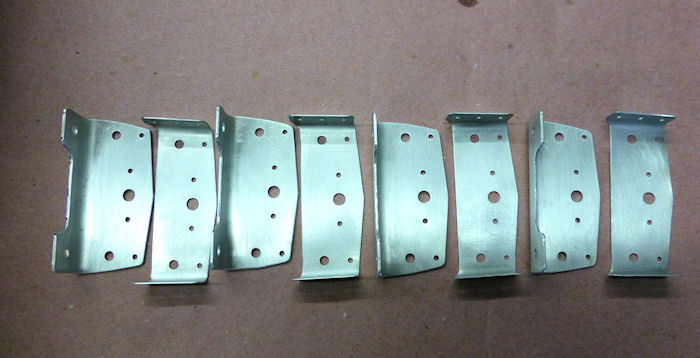
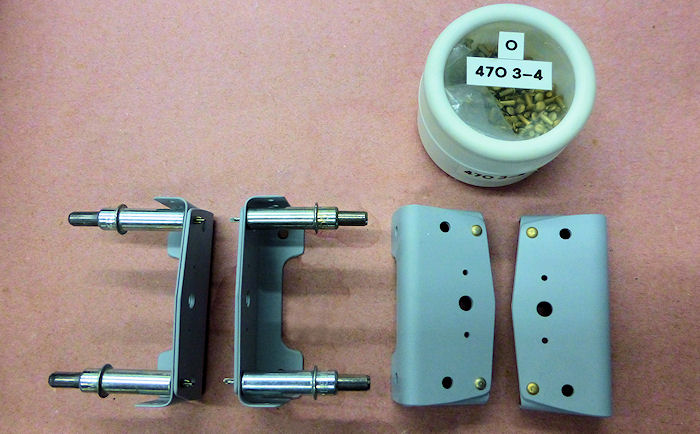
| Step 04: Separate, Deburr, Scuff, Clean and Prime the Hinge Bracket Parts. |
 |
|||||||||||
| Step 05: Cleco the Hinge Bracket Assemblies as shown then rivet the two outward corners of each Assembly. |
 |
|||||||||||
|
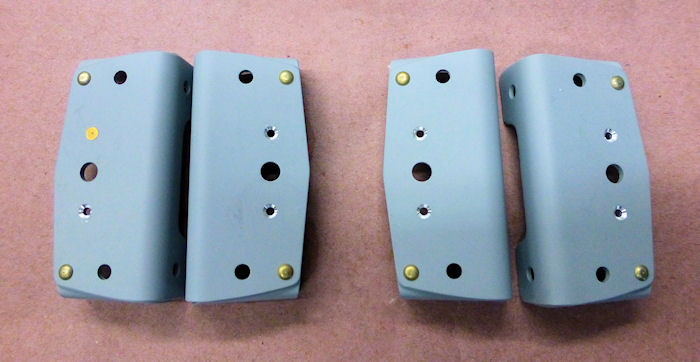
Step 06: Countersink the eight holes at the center bolt holes. Add Nut Plates at the two outward hinge half's only. |
 |
|||||||||||
| Step 07: install the two outward hinge half's with the nutplates. |
 |
|||||||||||
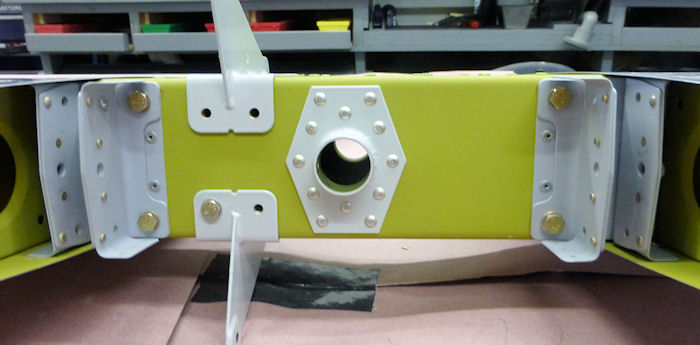
| Step 08: Install the two inward hinge half's, Leave the bolts a little loose until you install the bushing and bolts. |
 |
|||||||||||
|
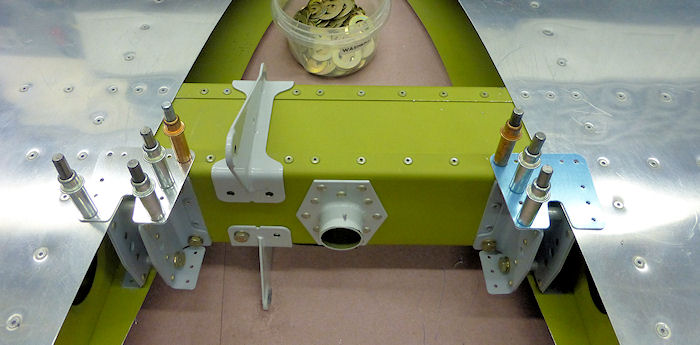
Step 09: Install the bushing and bolts. Cleco the HS-01231C in place as shown, Match Drill #40 the two holes in the stabilator skin at each outboard hinge half. |
 |
|||||||||||
|
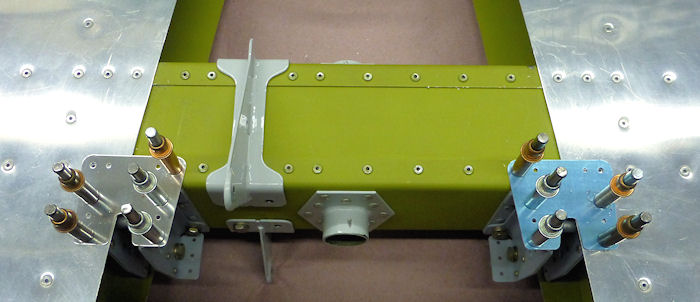
Step: Match Drill #30 the two holes in the stabilator skin
at each outboard hinge half. I did not drill the center hole at each outboard hinge half. |
 |
|||||||||||
|
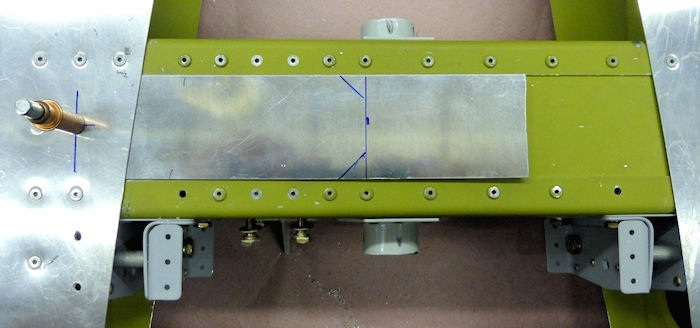
Step:11 Make the spacer, slide the spacer under the skin and layout then
drill #30. Cleco the spacer as shown. |
 |
|||||||||||
|
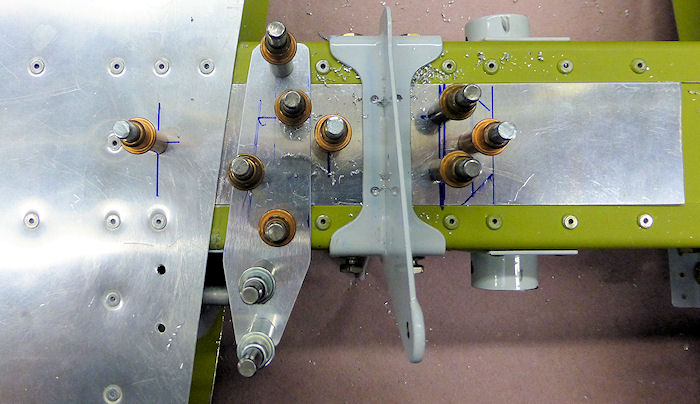
Step:12 layout, make the inward hinge attach support bracket,
match drill as shown. Drill #40 the four holes in the WD-1207 Drill only to mark the spacer, do not drill into the spar. |
 |
|||||||||||
|
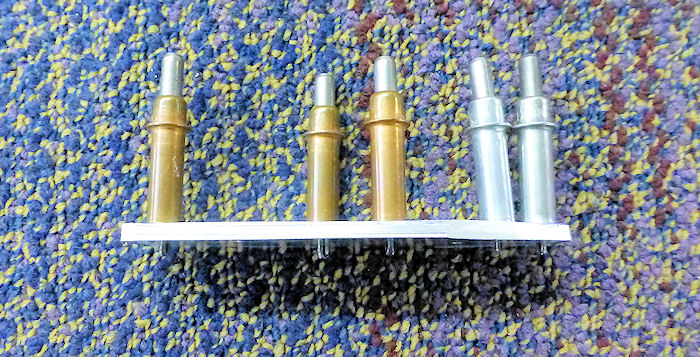
Step:13 Use the support bracket made in step 12 to make the
remaining three support brackets 05/07/18 |
 |
|||||||||||
|
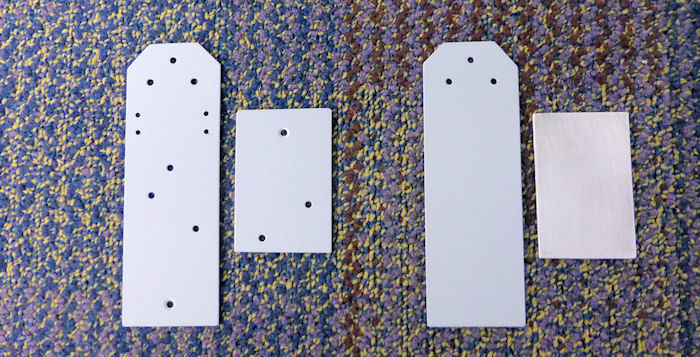
Step:14 Make the top ad bottom spar spacers as shown. The holes need to be matched drilled in place. |
 |
|||||||||||
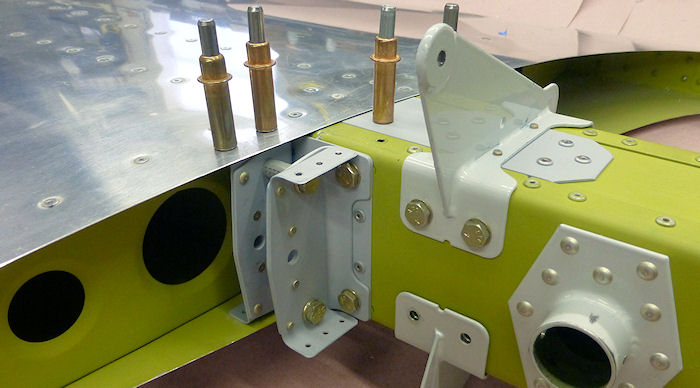
| Step:15 Install and rivet the parts as shown |
 |
|||||||||||
|
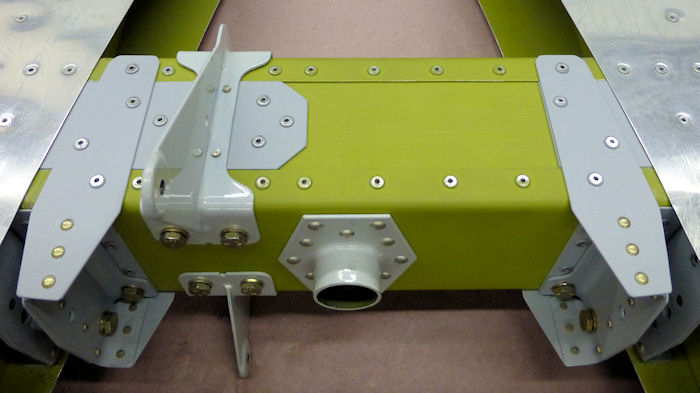
Step:16 Finished 05/09/18 |
 |
|||||||||||
|
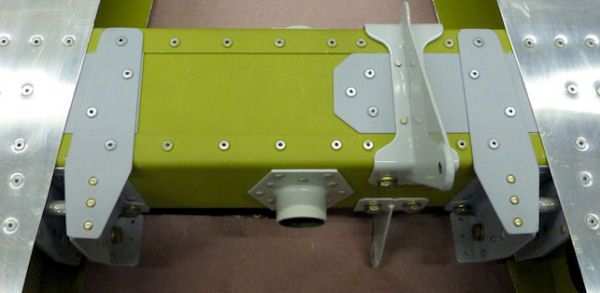
Step:17 Finished 05/09/18 |
 |
|||||||||||
|
SB 18-02-02 Stabilator Front Spar |
| SPAR ASSEMBLY | REAR & STUB SPARS | WING RIBS | STALL WARNING | WING SKINS | FLAPERON | BUILDERS LOG |
|
||||||||||
|
Disclaimer : Information contained on this Site may be out of date and /or inaccurate - Please Confirm any important data with a reliable source. |