
| Home | Empennage kit | Wing Kit | Fuselage Kit | Finish Kit | Power Plant Kit | Avionics | Paint | Interior | Home |
 |
|||||||||||
|
|||||||||||
| Avionics | WIRING | MISCELLANEA | OPTION'S | BUILDERS LOG |
| Page 42.11: Arduino |
|
|||||||||||
| Microcontroller |
Experimenting with the Arduino microcontroller to perform some small tasks in the Aircraft. I will Experiment with Controlling a lot of tasks with this microcontroller. The programing language is C and C++ and has a lot of possibilities . |
|||||||||||
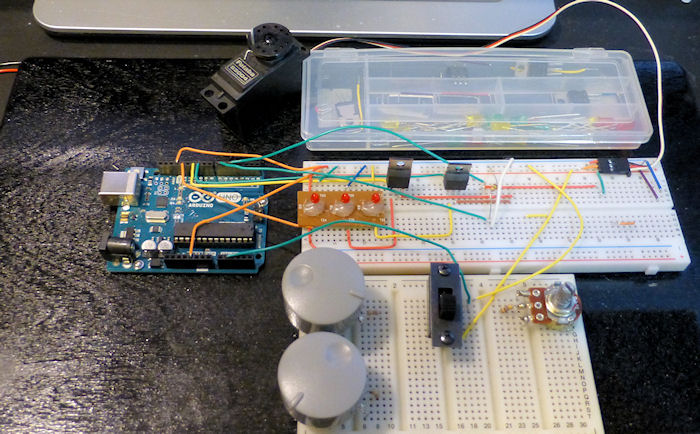
| 01:
The Arduino I mounted a Arduino Uno on a piece of plywood with a couple of bread boards to test out some circuits and test the code . I have some concern if the PWM will cause some interference with the radios. |
 |
|||||||||||
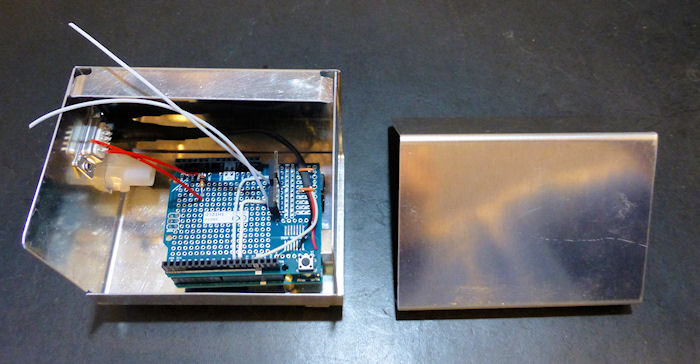
| 02: The case is
4.35" wide. I sized it wide enough to hold a Arduino Mega if I need more pins and memory. |
 |
|||||||||||
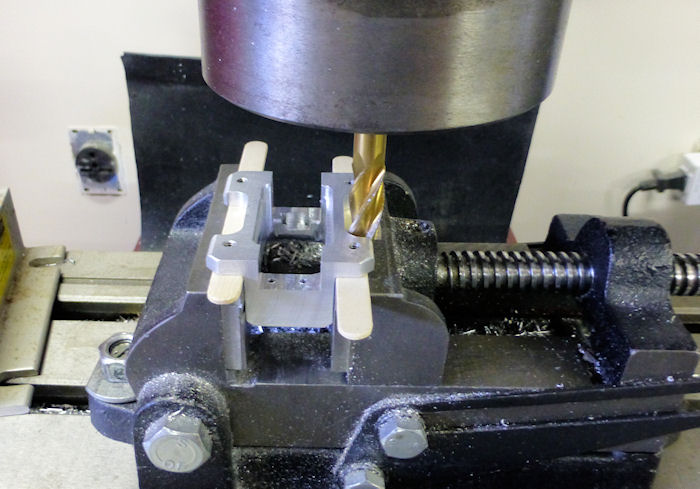
| 03:
Make the servo tray from a 1" X 2" T24 aluminum bar This is the first prototype. I will also make a side mount version. The final versions will be milled thinner to lower there weight |
 |
|||||||||||
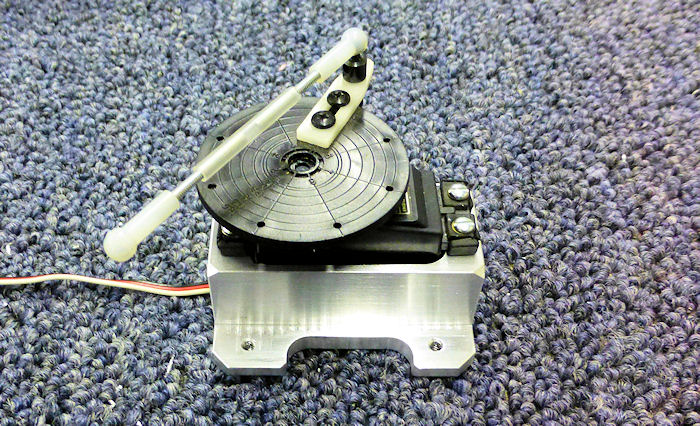
| 04: The Futaba Servo in the custom tray. |
 |
|||||||||||
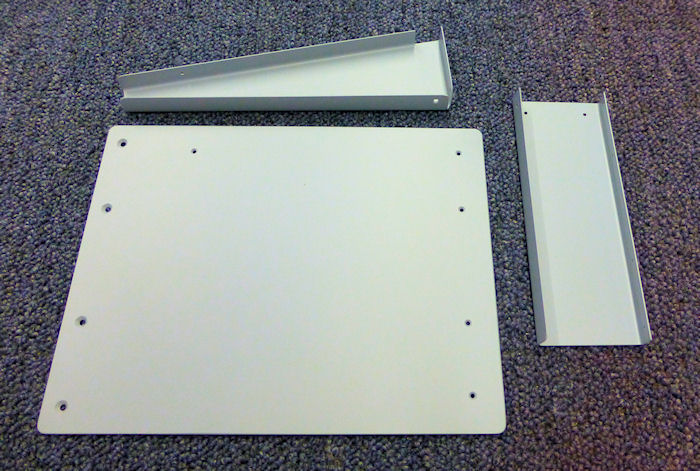
| 05: The right side Panel parts |
 |
|||||||||||
| 06:
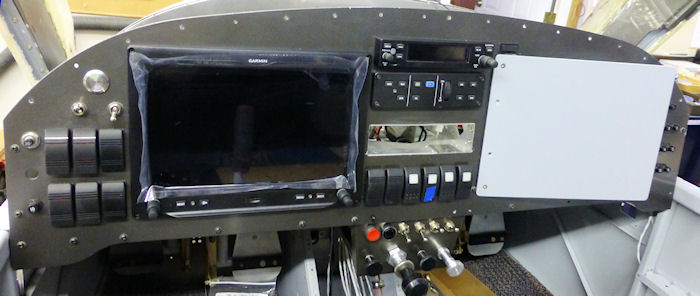
The Right Panel is on a hinge and is controlled by a servo. I will paint the panel the same color as the Garmin bezel. Closed or open 15° to the left. I will mount a 10" tablet running Garmin Pilot on the panel. The rocker switch at the top left of the panel controls the servo |
 |
|||||||||||
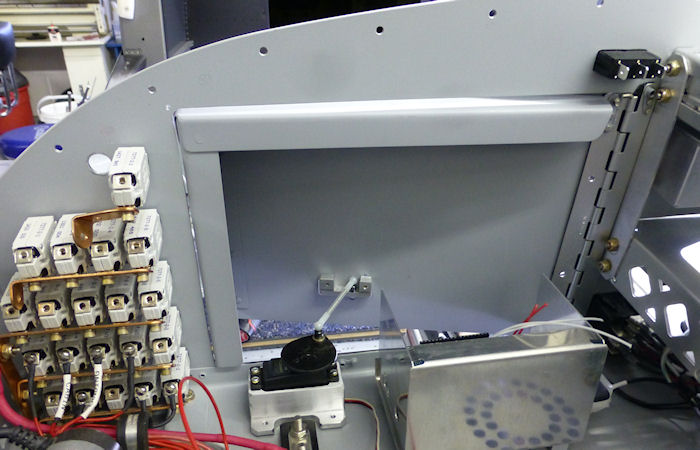
| 07: The rocker
switch at the top of the door will connect to the Arduino and control
the servo. The cutout in the panel is the same size as the Garmin G3X touch if I want to add a second screen. The hinge uses the same screw holes as the Garmin |
 |
|||||||||||
| 08: | ||||||||||||
| Page 42.06: Avionics |
|
|
|
||||||||||
|
Disclaimer : Information contained on this Site may be out of date and /or inaccurate - Please Confirm any important data with a reliable source. |