
| Home | Empennage kit | Wing Kit | Fuselage Kit | Finish Kit | Power Plant Kit | Avionics | Paint | Interior | Home |
 |
|||||||||||
|
|||||||||||
|
||||||||||||
| Page 12A.01 Stabilator Faring's |
|
|||||||||||
|
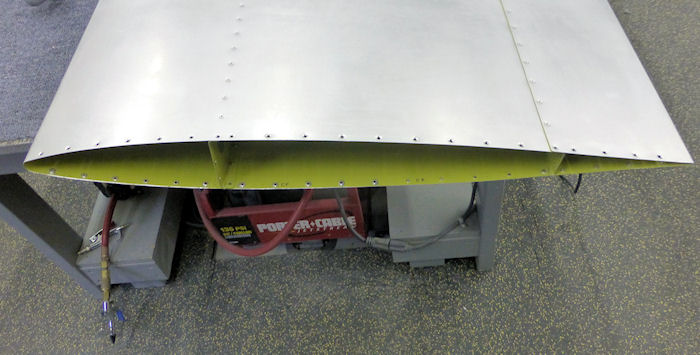
Step 01: Remove the Ribs at each end of the Stabilator. Builder Note: Thanks Van's for saving me a lot of work. This worked out well. I Used CS4-4 rivets, I think it is worth the time. 05/03/18 |
 |
|||||||||||
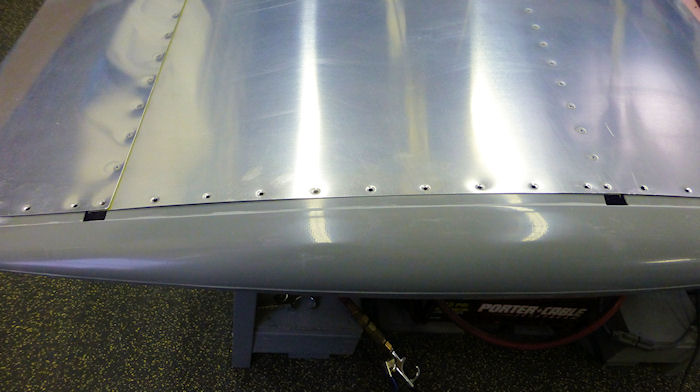
| Step 02: Notch and trim the flange of the Fairing to 15/32". |
 |
|||||||||||
|
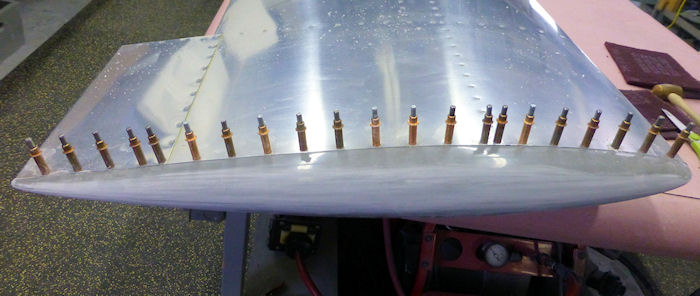
Step 03: Match drill and cleco as you go. This is a good time to clean up the casting marks on the faring's. |
 |
|||||||||||
|
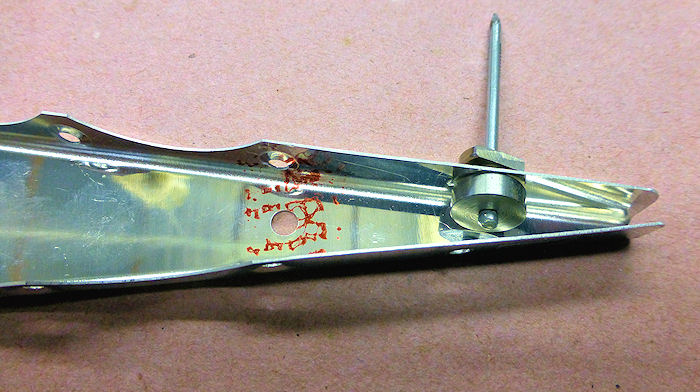
Step 04: Flute, Dimple, Deburr, Scuff, Clean, and Prime all six
ribs in the stabilator kit. A pop rivet dimpler works well for the holes that are at the small end of the rib. 05/03/18 |
 |
|||||||||||
|
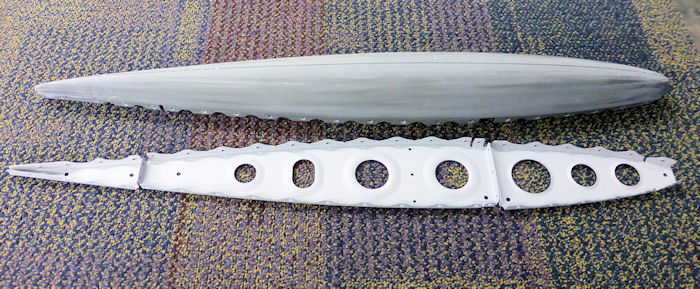
Step 05: Countersink the holes in the fairings for the CS4-4
rivets. Use the ribs to determine the location of the notches to clear the flutes used to straighten the ribs. |
 |
|||||||||||
|
Step 06: The finished fairing A 3/4" drum sander works well to add the notches. |
 |
|||||||||||
| Step 07: Test fit the Ribs to the faring. |
 |
|||||||||||
|
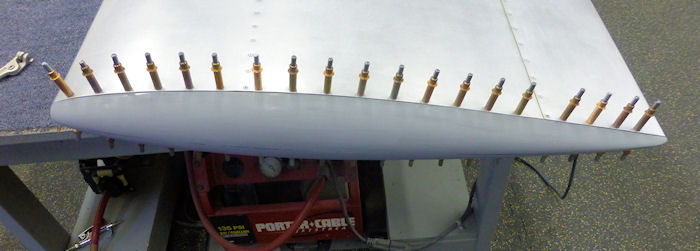
Step 08: Install the ribs with the rivets to the spars and only
the four CS4-4 rivets to the skin. The dimples work well to hold the Ribs in place until you cleco the fairing in place. |
 |
|||||||||||
|
Step 09: Cleco the fairing in place with all the the holes to
insure a nice tight fit to the skin. Then rivet removing clecos as you go. 05/03/18 |
 |
|||||||||||
|
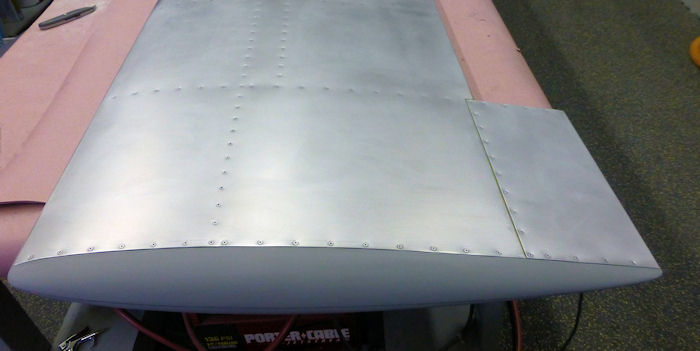
Step 10: Vansf fairings are very well designed and fit the stabilator perfectly. Now the Stabilator looks Finished The CS4-4 rivets are not difficualt to add and I think it is worth the time. 05/04/18 |
 |
|||||||||||
| Page 12A.01 Emp Fairings |
|
|||||||||||
|
|
||||||||||
|
Disclaimer : Information contained on this Site may be out of date and /or inaccurate - Please Confirm any important data with a reliable source. |