|
Page 25.03 Tailcone
Attachment
|
|
|
CAUTION: To avoid water penetration, upper skins need to overlap
outboard of the lower skins and the forward skins need to overlap
outboard of the aft skins. |
Builders Note: The Side Skins and the Corner Skins will be
installed at a later date to allow easy access for installing all
interior items. |
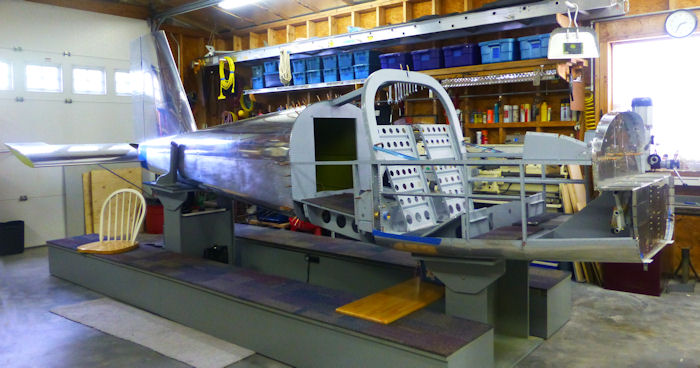
Step 01: Support the Fuselage and
Tailcone Assemblies on custom supports. Bring the Tailcone Assembly to the aft
of the Fuselage Assembly. Place the forward edge of the F-1282-L&R
Bottom Skins on the aft edge of the F-1276 Bottom Skin as shown in
Figure 1. Insert the forward edge the tailcone bottom skins between the
F-1207B Baggage Bulkhead and the fuse bottom skin as shown in Figure 4.
Cleco the tailcone bottom skins to the bottom skins. Lift the aft end of
the tailcone and guide the tailcone skins out of thru F1255-L & R
Longerons and inboard of the F-1270-L & R Fuselage Side Skins. The
F1279-L & R Upper Skins are outboard of the fuselage side skins, see
Page 25-04, Figure 2. Cleco the lower half of the Tailcone Assembly to
the Fuselage Assembly in about ten places. Shake the aft end of the
Tailcone Assembly up, down, left and right to ensure that the clecos
are set completely.
06/1/13
|
 |
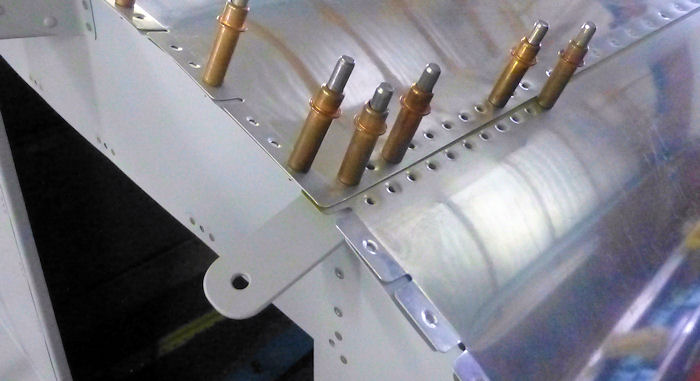
Step 02: Cleco the F-1207E-L & R Shoulder Strap Lugs to the
inboard surface to the Tailcone Assembly skins as shown in Figure 2.
06/08/13 |
 |
|
Step 03: Rivet the F-1207E-L & R Shoulder Strap
Lugs to the Tailcone Assembly skins using the rivets called out in
Figure 2. Capture the upper flange of the F-1207D-L & R Baggage Bulkhead
Channels when riveting the two forward holes of the shoulder strap lugs. |
The forward holes in the
upper tailcone skins as called out in figure 3. These holes will be
riveted later in this section. |
|
|
|
|
Page 25.03 Tailcone
Attachment |
|


