
| Home | Empennage kit | Wing Kit | Fuselage Kit | Finish Kit | Power Plant Kit | Avionics | Paint | Interior | Home |
 |
|||||||||||
|
|||||||||||
| VERTICAL STAB | RUDDER | ANTI-SERVO TAB | STABILATOR | TAILCONE | EMP ATTACH | EMP FAIRINGS | BUILDERS LOG |
| Page 06.06 Vertical Stabilizer |
|
|||||||||||
|
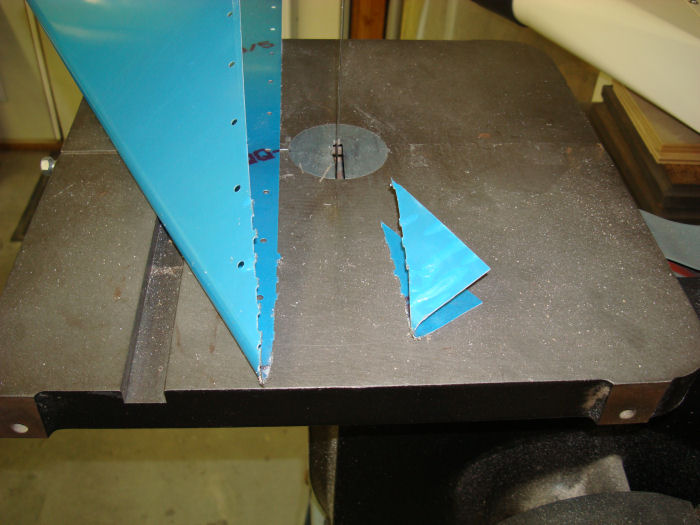
Step 01:
Remove the material from the VS-1204 Fwd Skin,
Called out in Figure 1. 07-12-10 |
 |
|||||||||||
|
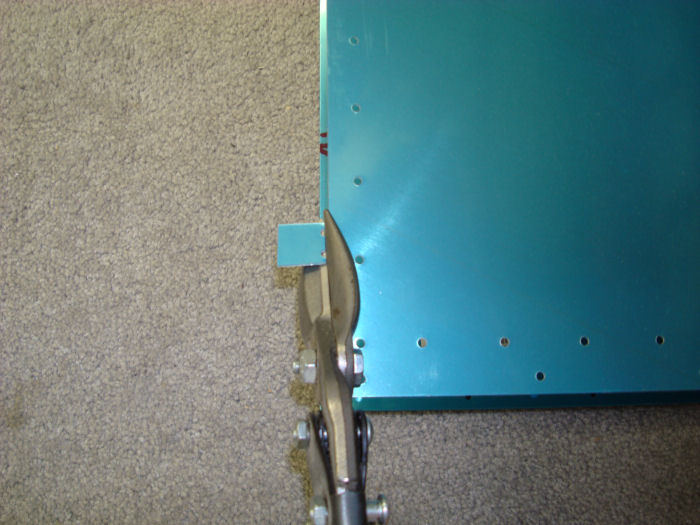
Step 02: Remove the
material from the VS-1201 Main Skin called out in Figure 2, Detail A. 07-12-10 |
 |
|||||||||||
|
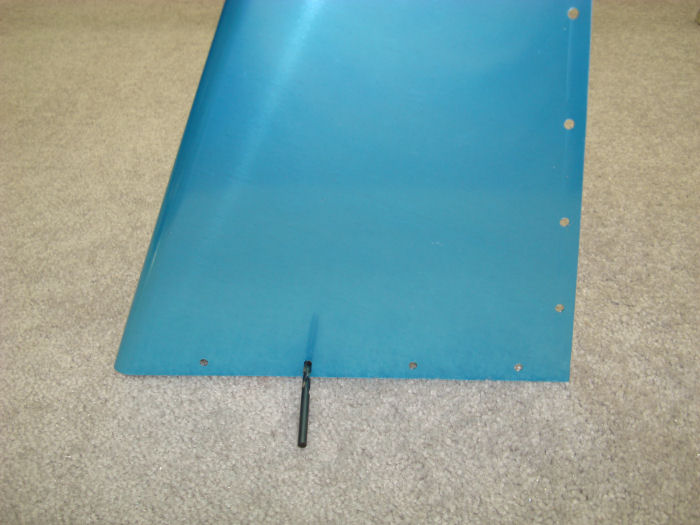
Step 03: Final-drill #19,
the nutplate screw holes in the VS-1204 Fwd Skin per call-outs in Figure
1. 07-12-10 |
 |
|||||||||||
|
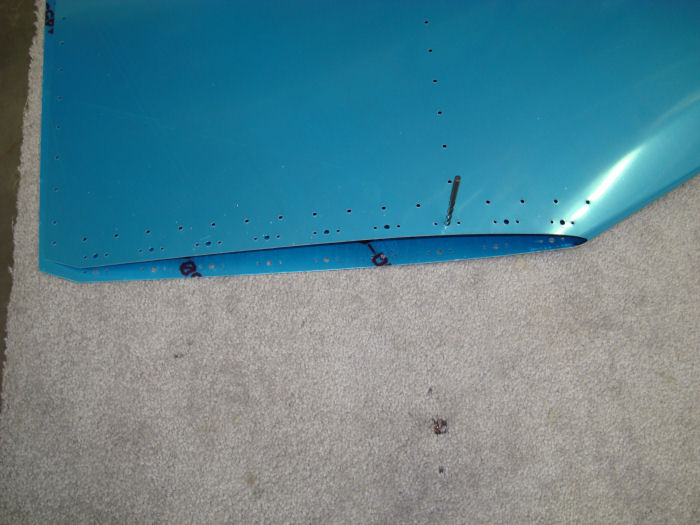
Step 04: Final-drill #19,
the nutplate screw holes in the VS-1201 Main Skin per call-out in Figure
2, Detail B. Deburr all of the final-drilled holes from Step 3 and 4. 07-12-10 |
 |
|||||||||||
|
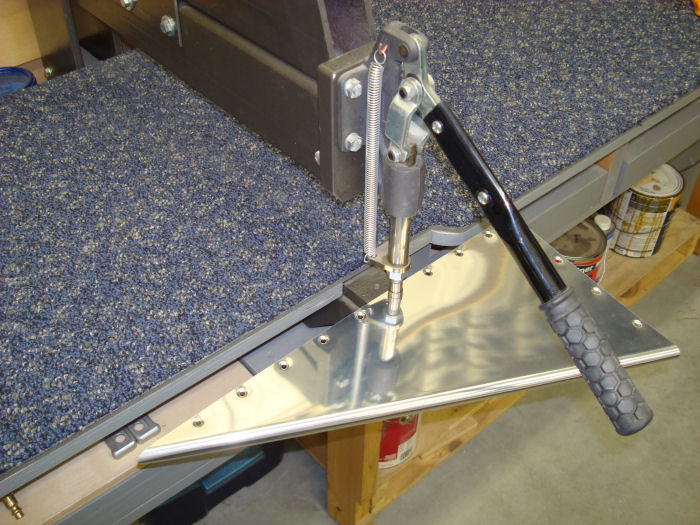
Step 05:
Dimple the #19 holes in the VS-1204 Fwd Skin using a #8 dimple die as
called out in Figure 1. 07-12-10 |
 |
|||||||||||
| Step 06: Dimple the #19 holes in the VS-1201 Main Skin using a #8 dimple die as called out in Figure 2, Detail B. | ||||||||||||
|
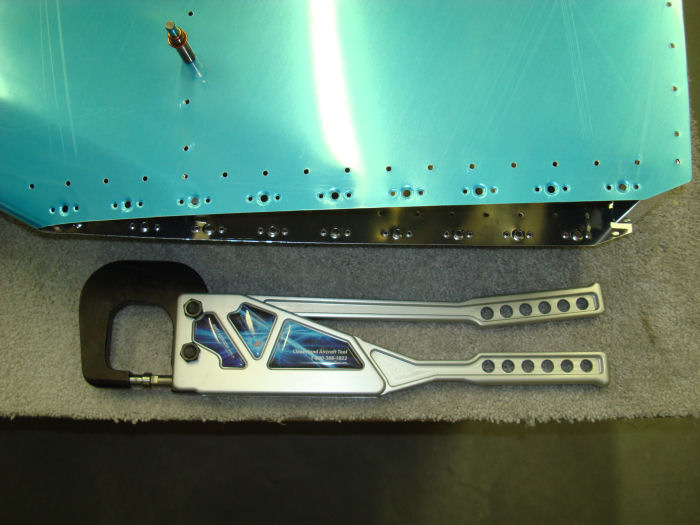
Step 07: Dimple the
nutplate attach rivet holes in the VS-1201 Main Skin using a 3/32"
dimple die as called out in Figure 2, Detail B. 07/12/10 |
 |
|||||||||||
|
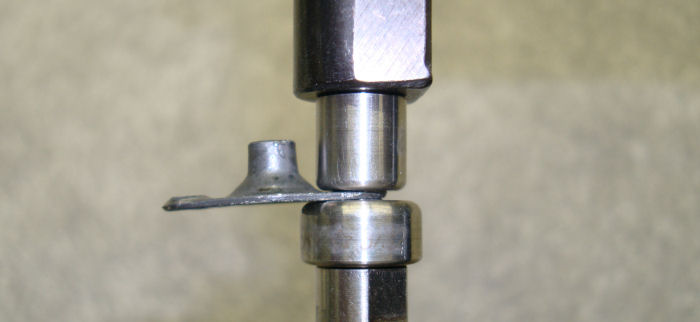
NOTE: A small diameter female die is required to dimple the
nutplate attach rivet holes on a countersunk nutplate. 07-12-10 |
 |
|||||||||||
|
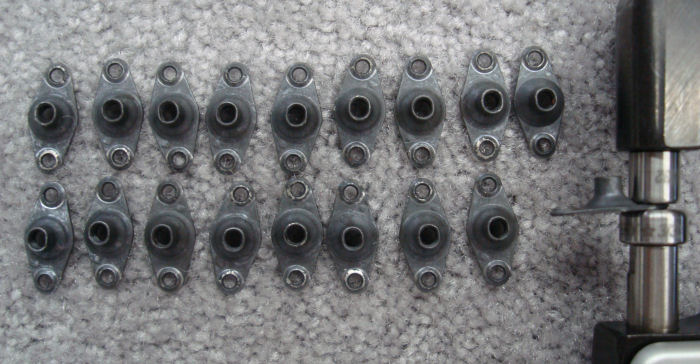
Step 08: Dimple the nutplate attach rivet holes using a
3/32" dimple die as called out in Figure 3. 07-12-10 |
 |
|||||||||||
|
Step 09:
Rivet the previously dimpled K1100-08 Nutplates,
to the VS-1201 Main Skin per call-outs in Figure 4. Builder Note: Step out of sequence 09/27/10 |
 |
|||||||||||
| Page 06.06 Vertical Stabilizer |
|
| VERTICAL STAB | RUDDER | ANTI-SERVO TAB | STABILATOR | TAILCONE | EMP ATTACH | EMP FAIRINGS | BUILDERS LOG |
|
||||||||||
|
Disclaimer : Information contained on this Site may be out of date and /or inaccurate - Please Confirm any important data with a reliable source. |