
| Home | Empennage kit | Wing Kit | Fuselage Kit | Finish Kit | Power Plant Kit | Avionics | Paint | Interior | Home |
 |
|||||||||||
|
|||||||||||
| SPAR ASSEMBLY | REAR & STUB SPARS | WING RIBS | STALL WARNING | WING SKINS | FLAPERON | BUILDERS LOG |
| Page 17.02 Wing Skins |
|
|||||||||||
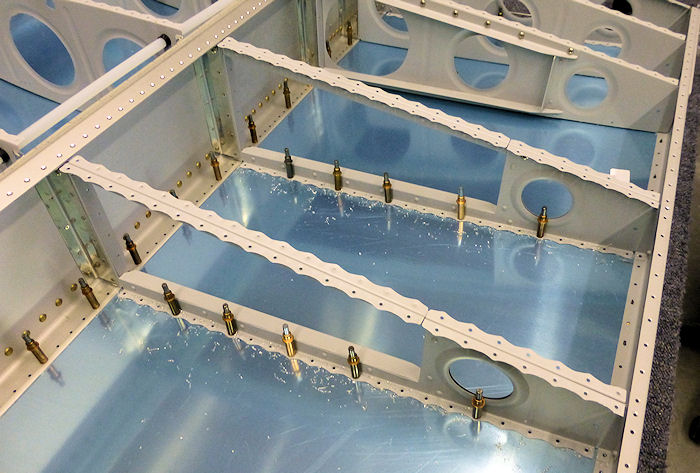
| Step 01: Temporally
cleco the W-11201-L wing skin to the left wing assembly and match drill
#30 the bottom of the center two fuel tank rib assemblies as shown in
photo at the right. Photo: 06/12/15 |
 |
|||||||||||
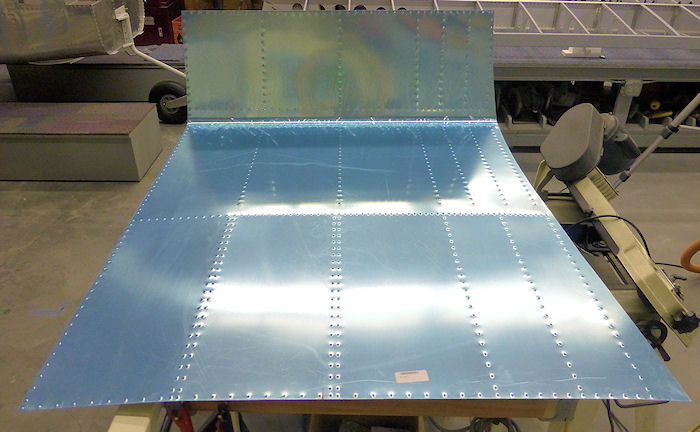
| Step 02: Remove skin
and dimple all the holes then remove the inside protective film and
deburr all edges. Dimple all the holes then remove the inside protective film and deburr all edges on all wing skins. Photo: 06/14/15 |
 |
|||||||||||
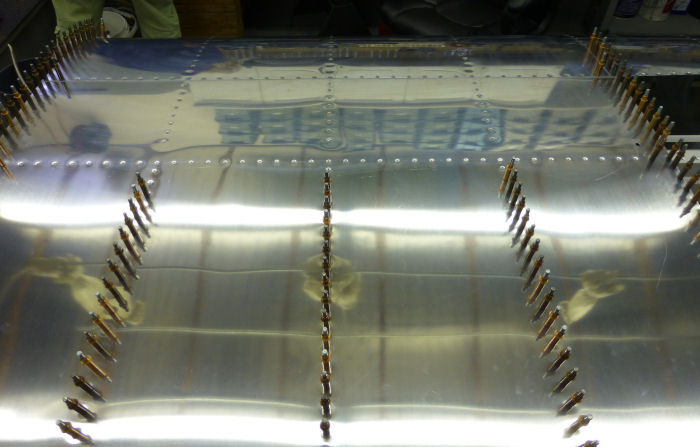
| Step 03: Carefully open
a gap in the protective film and Cleco 100% the W-1201-L Inbd wing skin
to the bottom of the wing, then start riveting from the rear spar
assembly working forward evenly across the skin as
shown in the photo at the right. Remove the protective film after the rivets are installed. Builder Note: the double line of rivets are at the two ply ribs at the center of the Fuel Tanks. Photo: 06/14/15 |
 |
|||||||||||
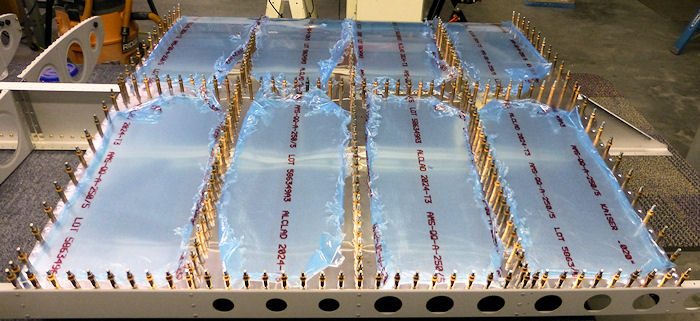
| Step 04:: Carefully
open a gap in the protective film and Cleco 100% the W-1203-L Outbd wing
skin to the bottom of the wing, then start riveting from the rear spar
assembly working forward evenly across the skin as shown in the photo at
the right. Remove the protective film after the rivets are installed. Photo: 06/14/15 |
 |
|||||||||||
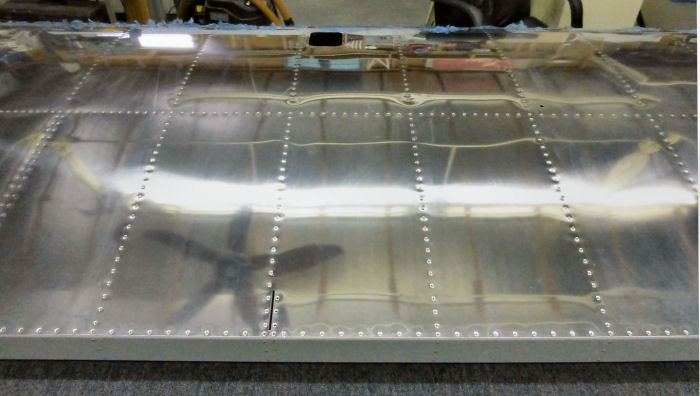
| Step 05: Carefully open
a gap in the protective film and Cleco 100% the W-1202-L Mid Wing Skin
to the bottom of the wing, then start riveting from the rear spar
assembly working forward evenly across the skin as shown in the photo at
the right. Remove the protective film after the rivets are installed. 06/16/15 |
 |
|||||||||||
| Step 06: Final drill the hole for the tie down ring | See photo above | |||||||||||
| Page 17.02 Wing Skins |
|
|
|
||||||||||
|
Disclaimer : Information contained on this Site may be out of date and /or inaccurate - Please Confirm any important data with a reliable source. |