
| Home | Empennage kit | Wing Kit | Fuselage Kit | Finish Kit | Power Plant Kit | Avionics | Paint | Interior | Home |
|
|
|||||||||||
|
|||||||||||
| VERTICAL STAB | RUDDER | ANTI-SERVO TAB | STABILATOR | TAILCONE | EMP ATTACH | EMP FAIRINGS | BUILDERS LOG |
| Page 10.04 Tailcone |
|
|||||||||||
|
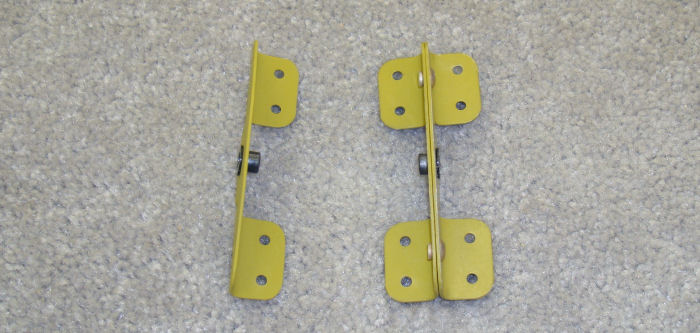
CAUTION: deburr only enough to locate the
bushing. Step 01: Rivet the F-121D Attach Brackets together per Figure 1. Deburr the 1/4" holes per call-outs. Install the bushing ( oversize before press fit ) as shown. If necessary use a C-clamp with socket opposite the bushing. 01/14/11 ALTERATION Rivets Used |
 |
|||||||||||
|
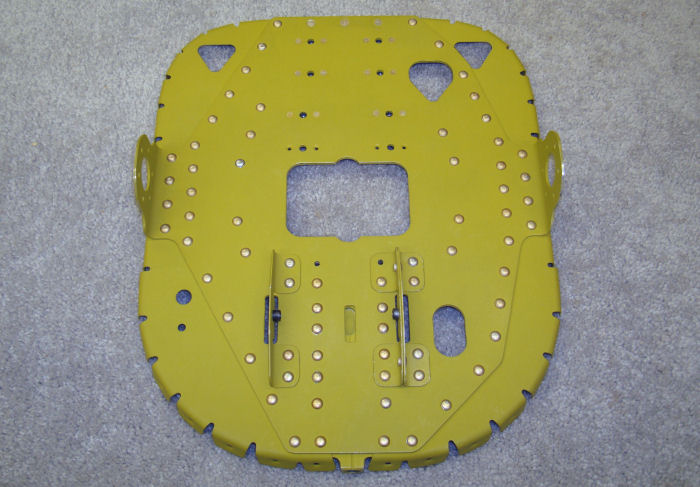
Step 02: Flute the F-1211A
Fuselage Bulkhead as called out in Figure 2 only enough to reduce the
slight pucker in the flange. Cracking may result from excessive force. Step 03: Cleco the F-1211B Bulkhead doubler to the F-1211A Fuselage Bulkhead as shown in Figure 2. Step 04: Cleco the F-1211G Tail Skid Bracket to the F-1211A Fuselage Bulkhead as shown in Figure 2. Clamp the tail skid bracket in place. 08/11/10 |
 |
|||||||||||
|
Step 05:
Match-Drill #30 the holes of the F-1211B Bulkhead Doubler into the
F-1211G Tail Skid Bracket. Remove the tail skid bracket and deburr the
holes.
08/11/10 |
 |
|||||||||||
|
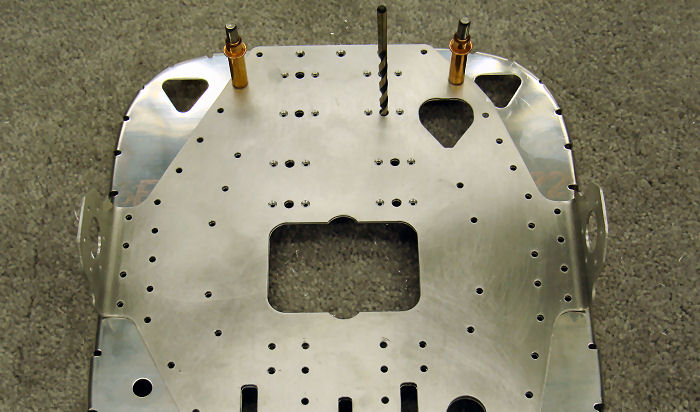
Step 06: Final-Drill
#12 the 3/16" holes called out in Figure 2. Disassemble, deburr, Clear
away chips and re-cleco in place. 08/11/10 |
 |
|||||||||||
|
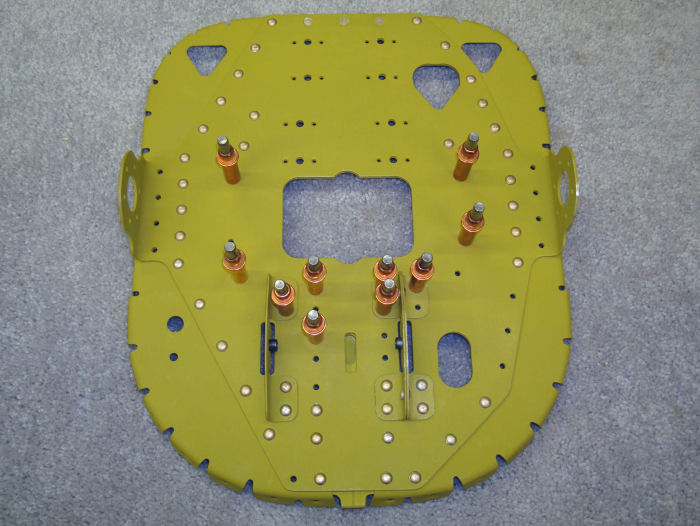
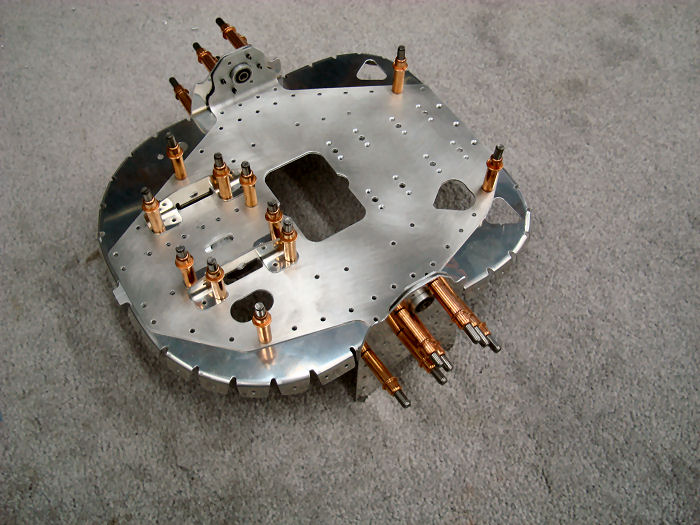
Step 07: Cleco the
F-1211G Tail Skid Bracket and the F-1211D Attach Brackets ( with bushing
flange on the outboard side ) to the F-1211A Fuselage Bulkhead and
F-1211B Bulkhead Doubler. 01/17/11 |
 |
|||||||||||
|
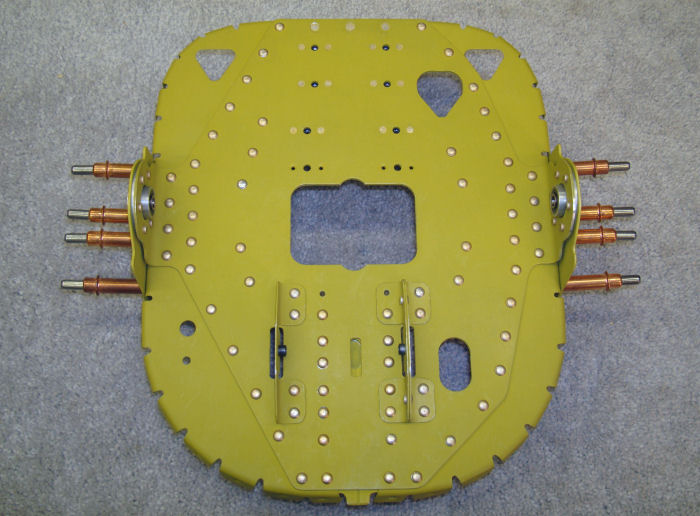
Step 08: Rivet the
F-1211A Fuselage Bulkhead to the F-1211B
Bulkhead Doubler, using the rivets indicated in Figure 2. Step 09: Rivet the F-1211D Attach Brackets and F-1211G Tail Skid Bracket to the F-1211 Assembly using the rivets indicated in Figure 2. ( - 2 Rivets ) Step 10: Rivet the nutplates to the F-1211 Assembly as shown using Hardware indicated in Figure 2. ( - 4 Rivets ) 01/17/11 Hereafter refer to the F-1211A Fuselage Bulkhead and the F-1211B Bulkhead Doubler as the F-1211 Assembly, ALTERATION Rivets Used |
 |
|||||||||||
|
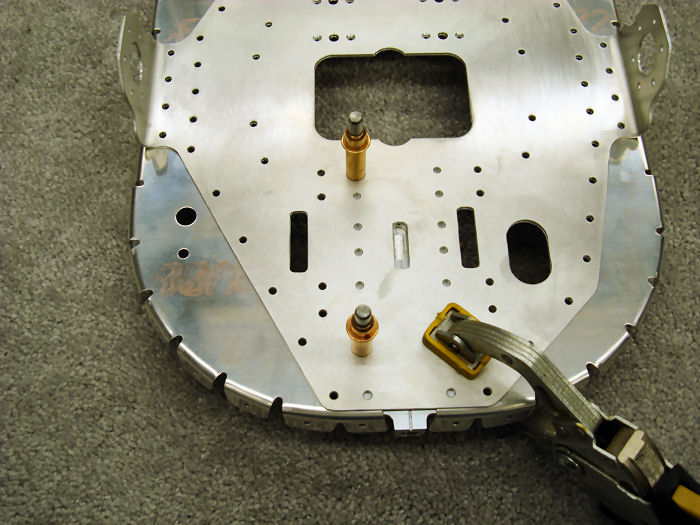
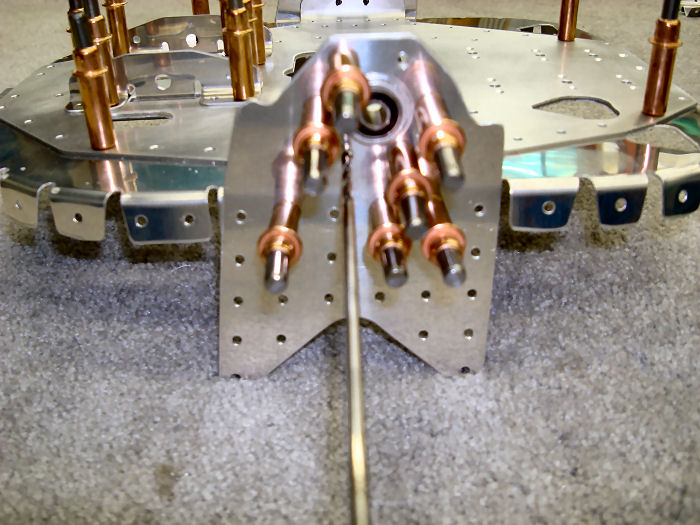
Step 11: Cleco the
F-1211C-L & R Hinge Brackets and the VA-146 Flange Bearings to the
F-1211 Assembly as shown in Figure 3. 08/11/10 |
 |
|||||||||||
|
Step 12: Final-Drill
#30 the holes common to the F-1211C-L & R Hinge Brackets, the VA-146
Flange Bearings and the F-1211 Assembly. Cleco each hole before drilling
the next. Disassemble, deburr then re-cleco in place. 08/11/10 |
 |
|||||||||||
|
Step 13: Rivet the
F-1211C-L & R Hinge Brackets and the VA-146 Flange Bearings to the
F-1211 Assembly as shown in Figure 3. 01/17/11 Builder Note: Waiting for 2" Yoke to install the last 6 Rivets. |
 |
|||||||||||
|
Step 14: Insert The
snap bushing into the F-1211 Assembly. Builder Note: ON hold for Painting. |
||||||||||||
| Page 10.04 Tailcone |
|
|
|
||||||||||
|
Disclaimer : Information contained on this Site may be out of date and /or inaccurate - Please Confirm any important data with a reliable source. |