
| Home | Empennage kit | Wing Kit | Fuselage Kit | Finish Kit | Power Plant Kit | Avionics | Paint | Interior | Home |
|
|
|||||||||||
|
|||||||||||
| VERTICAL STAB | RUDDER | ANTI-SERVO TAB | STABILATOR | TAILCONE | EMP ATTACH | EMP FAIRINGS | BUILDERS LOG |
| Page 10.10 Tailcone |
|
|||||||||||
|
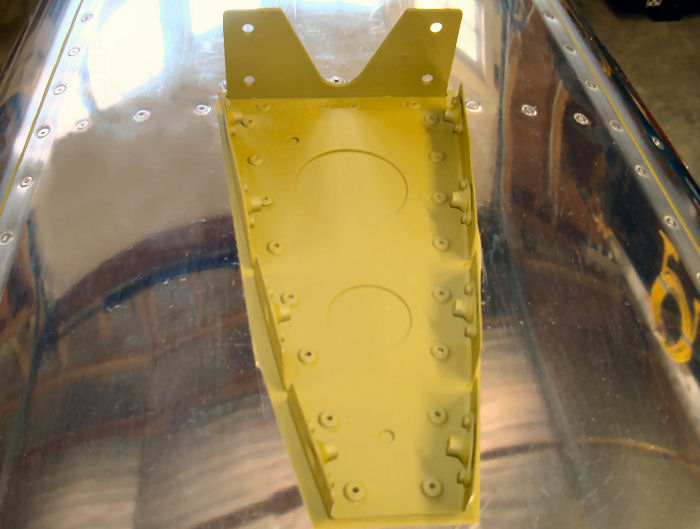
Step 01:
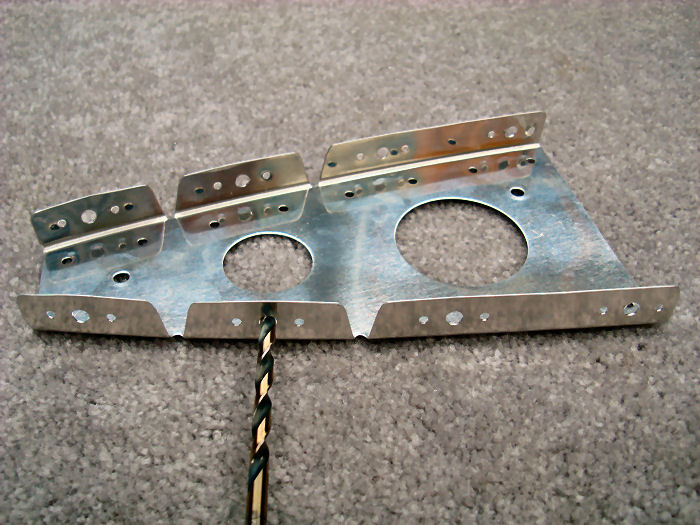
Final-Drill #19 the screw holes of the F-12106 Fwd Skin Rib per
call-outs in Figure 1. 08/23/10 |
 |
|||||||||||
|
Step 02: Dimple #8 the
screw holes of the F-12106 Fwd Skin Rib per call-outs in Figure 1. 08/23/10 |
 |
|||||||||||
|
Step 03: Dimple 3/32" the
nut plate attach holes of the F-12106 Fwd Skin Rib per call-outs in
Figure 1. 08/23/10 |
 |
|||||||||||
|
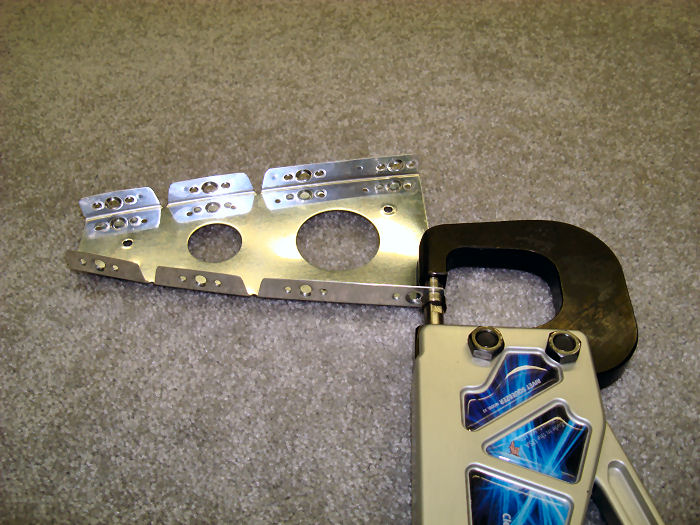
Step 04: Dimple the 3/32"
the nutplates attach holes of the eight nutplates per call-outs in
Figure 1. 08/23/10 |
 |
|||||||||||
|
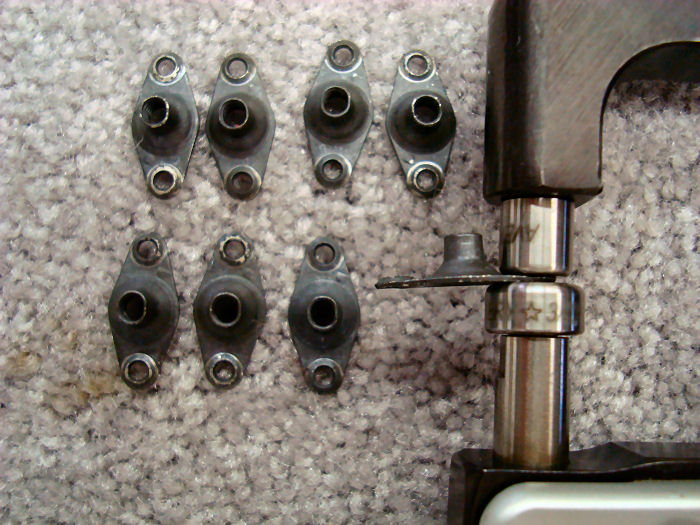
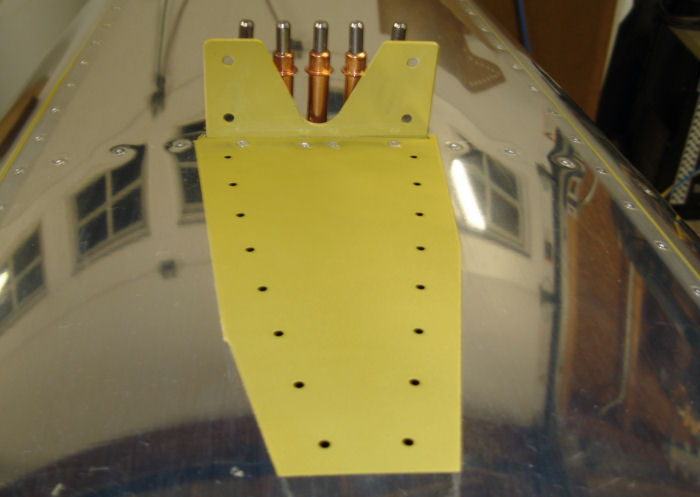
Step 05:
Rivet the dimpled nutplates to the F-12106 Fwd Skin Rib using the
hardware called out in Figure 1.
01/25/11 |
 |
|||||||||||
|
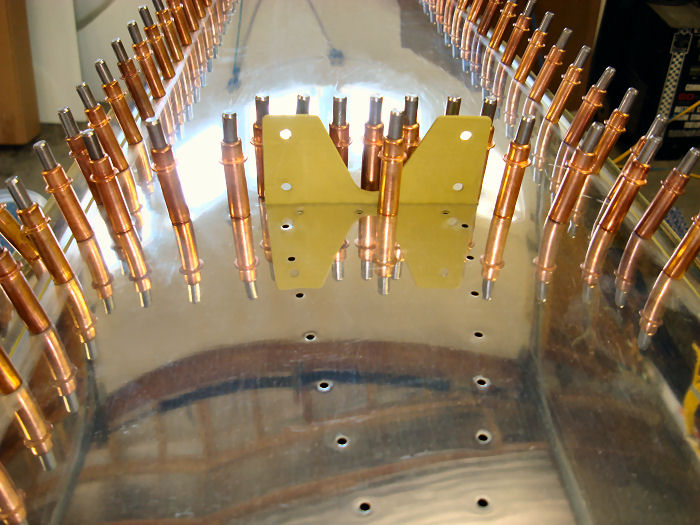
Step 06:
Guide the F-1210B Plate through the slot in the F-1278 Top Skin. Cleco
the Top Skin to the Top Skin to the F-1210 Frame. Match-Drill #30 the
two outboard-most holes in the F-1210C Angle using the Top Skin as a
guide. Check the top skin for deformations caused by the F-1210C Angle
at the locations called out in Figure 2. Remove the top skin and deburr
the angle. If deformations were present in the top skin file material
from the angle to minimize deformations on the top skin. Cleco the top
skin to the F-1208, F-1209 and F-1210 Frames and
F-1279-L & R Upper left and Right Side Skins as shown in Figure 2. 01/25/11 |
 |
|||||||||||
|
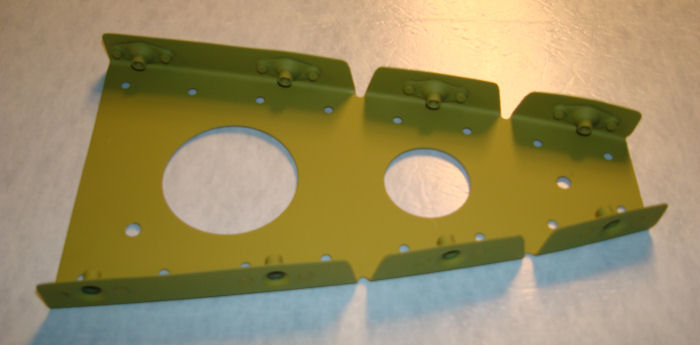
Step 07A: Prime the F-1278 Top Skin as
shown. 01/25/11 |
 |
|||||||||||
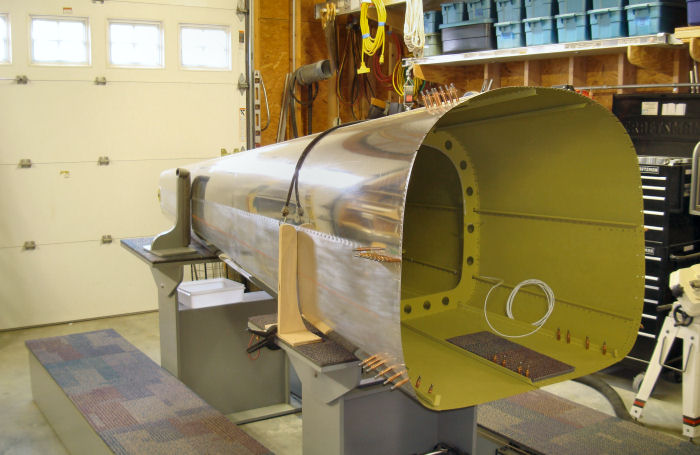
| Step 07: Rivet the F-12106 Fwd Skin Rib to the F-1278 Top Skin as
shown in Figure 2. 01/28/11 Builder Note: this step was performed last after step: 10 out of sequence waiting for the primer to dry. Tailcone Finished 01/28/11 |
 |
|||||||||||
| Step 08: Cleco, then rivet the F-1283C J-Stiffener to the F-1278
Top Skin as shown in Figure 2, Detail A-A. 01/25/11 |
 |
|||||||||||
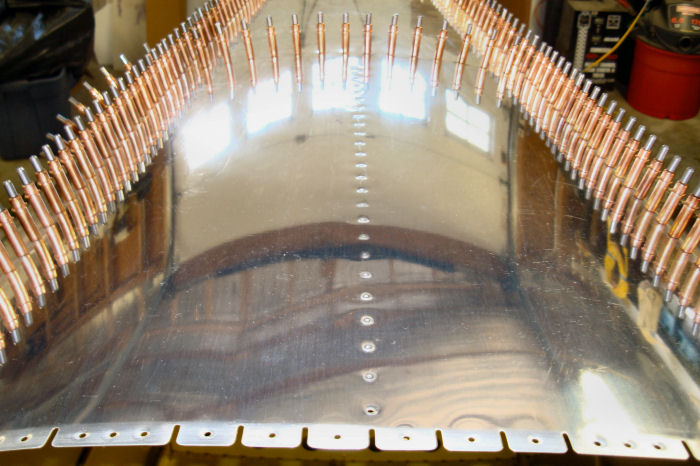
| Step 09: Place masking tape over all of the remaining open holes
that are within seven inches of the forward edge of the top skin Builder Note: Cleco Used Step 10: Rivet all of the remaining unmasked open holes in the Tailcone Assembly using rivets called out in Figure 2. 01/25/11 Tailcone Finished 01/28/11 |
 |
|||||||||||
| Page 10.10 Tailcone |
|
|
|
||||||||||
|
Disclaimer : Information contained on this Site may be out of date and /or inaccurate - Please Confirm any important data with a reliable source. |