|
Alteration 05.02 Battery / ELT Location |
|
|
Page 05.02 |
NOTE: Any alteration will require it to be
registered as Experimental-Amateur Built E-AB |
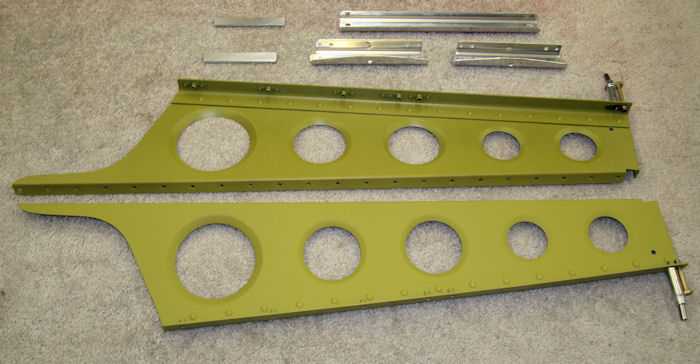
Step 01: Deburr, scuff, clean and prime the battery support ribs and
angles.
05/31/12
|
 |
Step 02: Install 12
nutplates and rivet the the angles to the battery support ribs.
06/02/12 |
 |
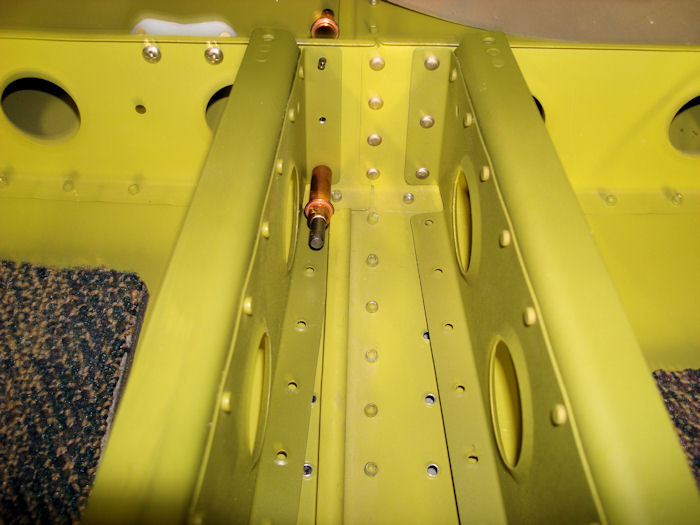
Step 03: Cleco then rivet
the battery support ribs to the F1208-L & R fuselage frame
Builder Note: Relieve as necessary the battery angles at top flange of
the F1028-L & R fuselage frames. I Installed the bottom left rivet (
picture view ) last and used a bucking bar and rivet gun. Flare ribs as
necessary to allow riveting.
06/02/12 |
 |
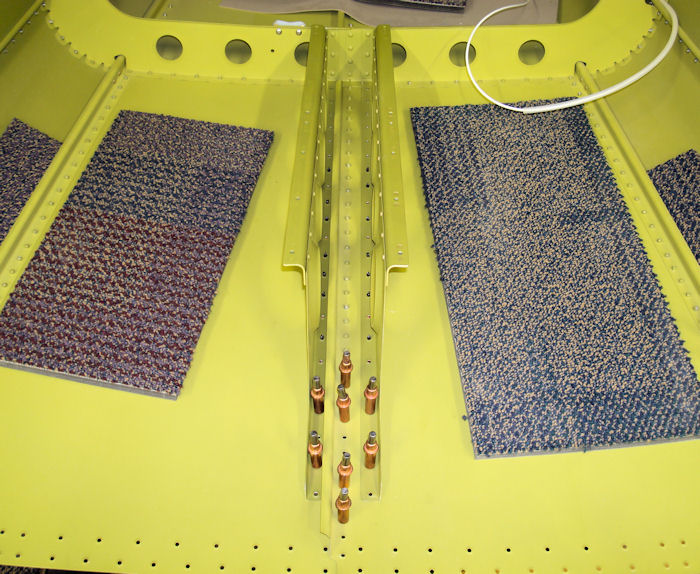
Step 04: Cleco then flush
rivet the battery support ribs to the F-1282-L & R bottom skin
06/02/12 |
 |
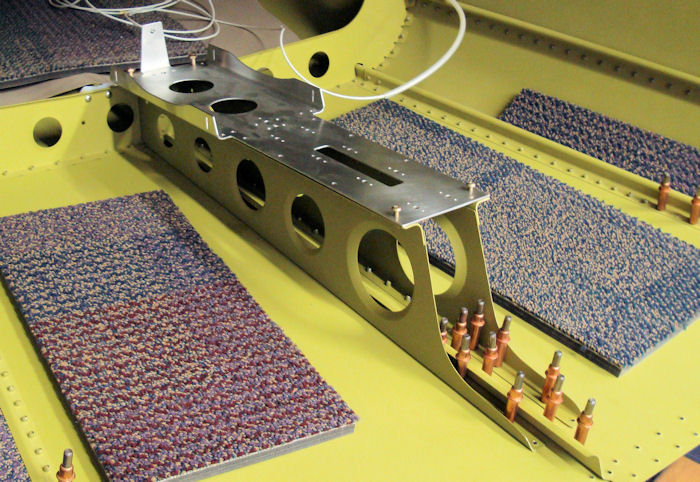
Step 05: Temporarily
Install the battery plate to the battery support assembly.
Note:
The RV-10 battery will not be used. ( it is to heavy )
The battery
plate will be modified when the proper battery is selected.
06/02/12 |
 |
|
Page 05.02 |
|
