
| Home | Empennage kit | Wing Kit | Fuselage Kit | Finish Kit | Power Plant Kit | Avionics | Paint | Interior | Home |
 |
|||||||||||
|
|||||||||||
| Home | Alterations | Vendors | Builders Log | Home |
|
Alteration 04 Canopy Lock / Lift / Alarm |
|
|||||||
| Page 04.03 | NOTE: Any alteration will require it to be registered as Experimental-Amateur Built E-AB | |||||||
|
Parts
|
||||||||
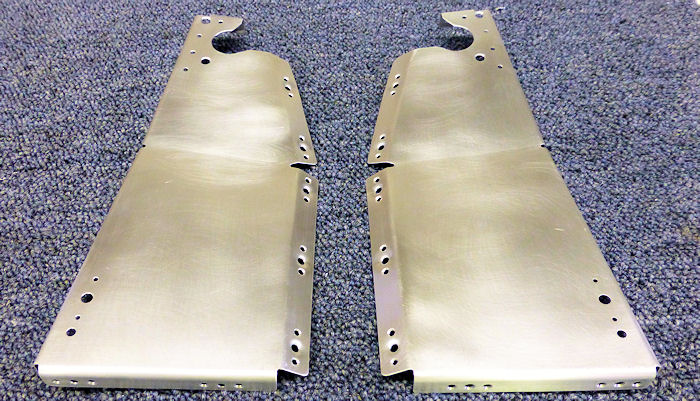
| Step 01: Cut away the
front as shown in photo to allow removal of the canopy and torsion
sytem. This area will be closed in a latter Step. 10/28/14 |
 |
|||||||
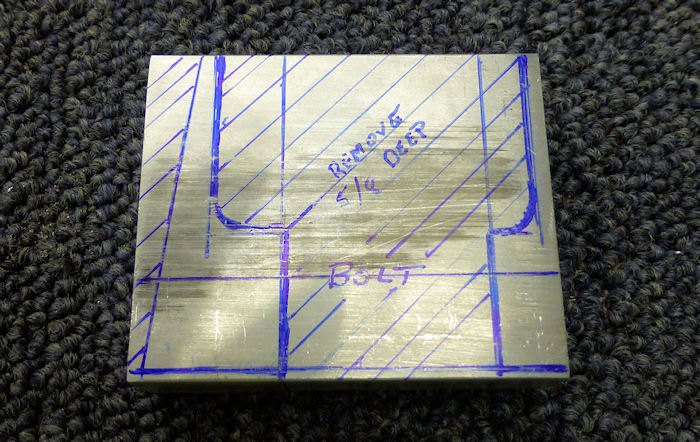
| Step 02: Layout to make
the left lift cylinder deck support 10/13/14 |
 |
|||||||
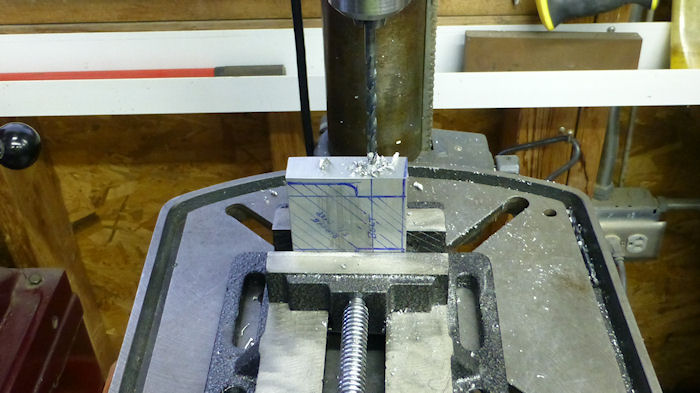
| Step 03: Drill out for
the bolt to connect the base of the left cylinder. Then mill out shaded aera in photo in Step:01 10/13/14 |
 |
|||||||
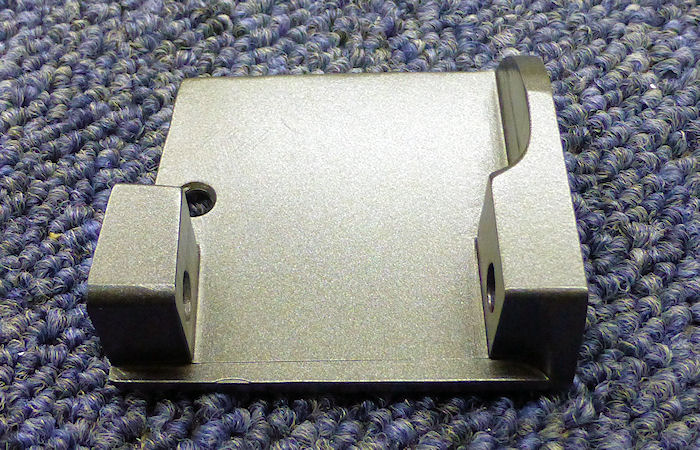
| Step 04: The left lift
cylinder deck support. Note: Additional material removed to make the part lighter. 01/07/15 |
 |
|||||||
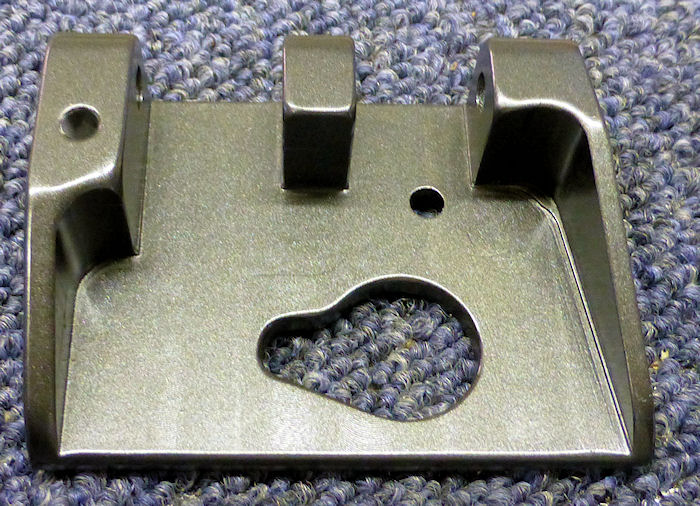
| Step 05: Make the right
lift cylinder and servo deck support. The hole is for the left side headphone jack to pass through. 01/08/15 |
 |
|||||||
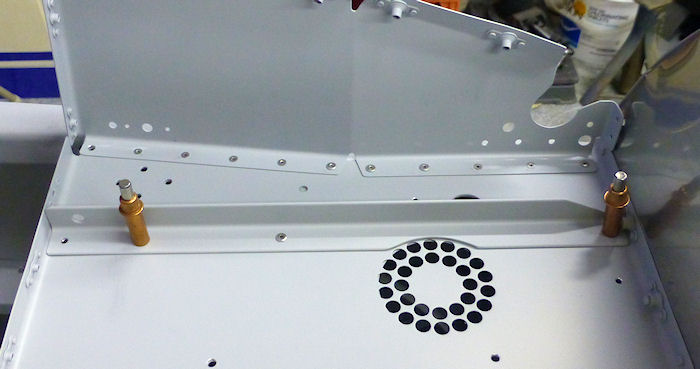
| Step 06: Make and
install the left deck support angle. 10/31/14 |
 |
|||||||
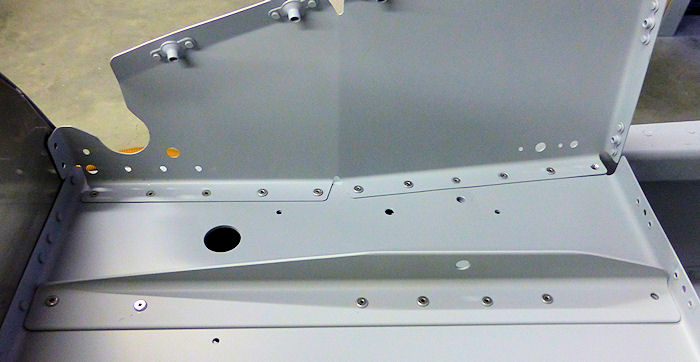
| Step 07: Make and
install the Right deck support angle. 10/31/14 |
 |
|||||||
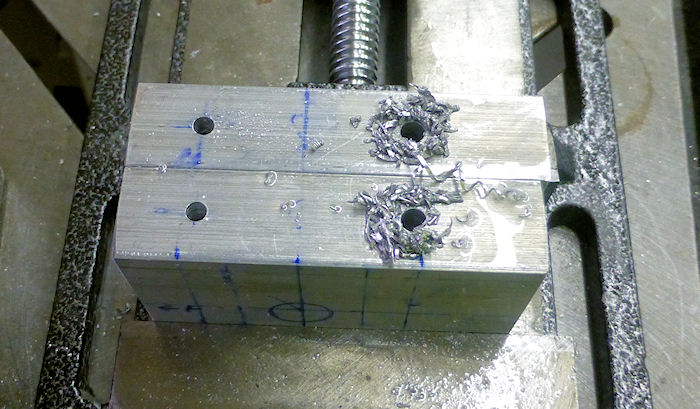
| Step 08: Layout and
drill 2 blocks of 2024 T3 as shown. 08/30/14 |
 |
|||||||
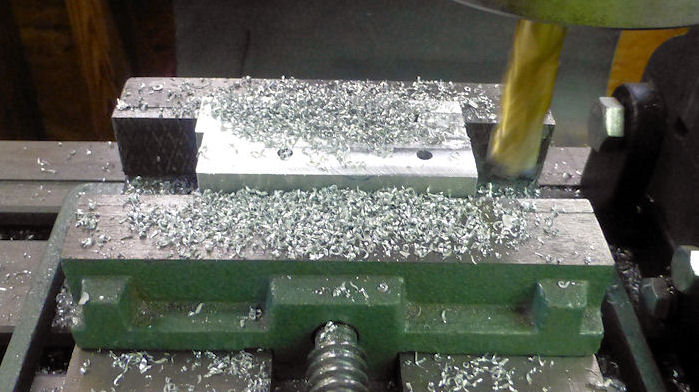
| Step 09: Cut in half and mill flat the 4 pieces. |
 |
|||||||
|
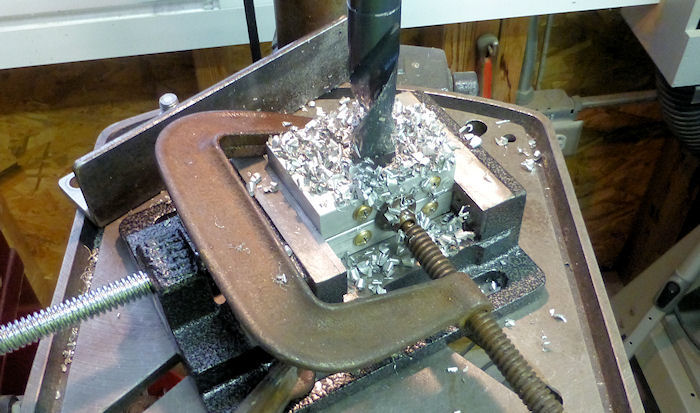
Step 10: Bolt the pieces back together then drill and ream to 0.875" in
the center of the mating surface. 08/30/14 |
 |
|||||||
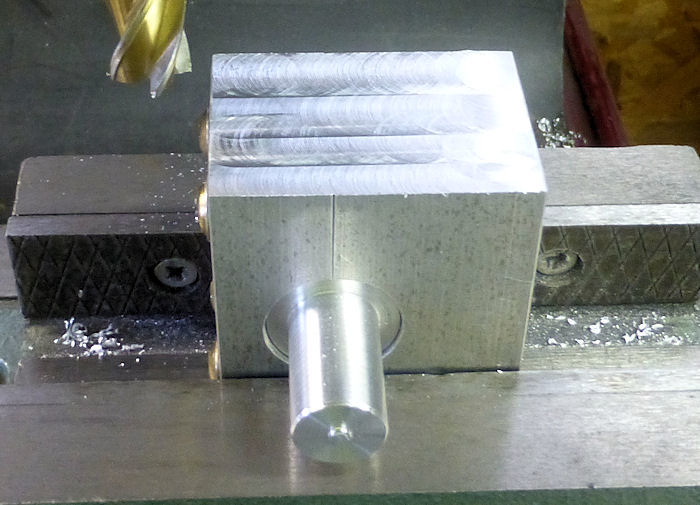
| Step 11: Install a
0.875" plug to keep the patts aligned then mill to final size. 08/31/14 |
 |
|||||||
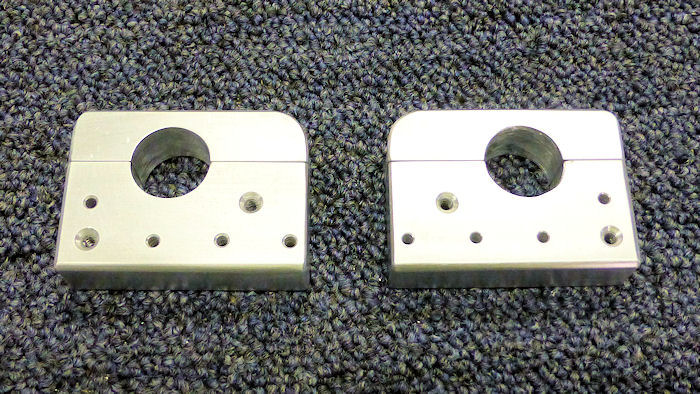
| Step 12: Drill, sand
and file to finish the two bearing blocks. 10/30/14 |
 |
|||||||
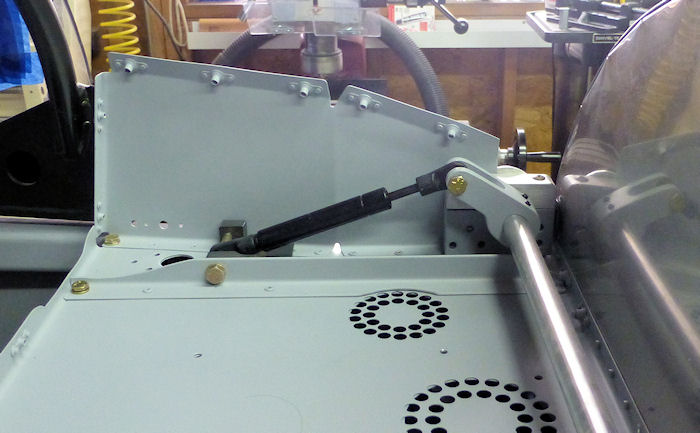
| Step 13: Install left
lift cylinder deck support and test the fit. 01/08/15 |
 |
|||||||
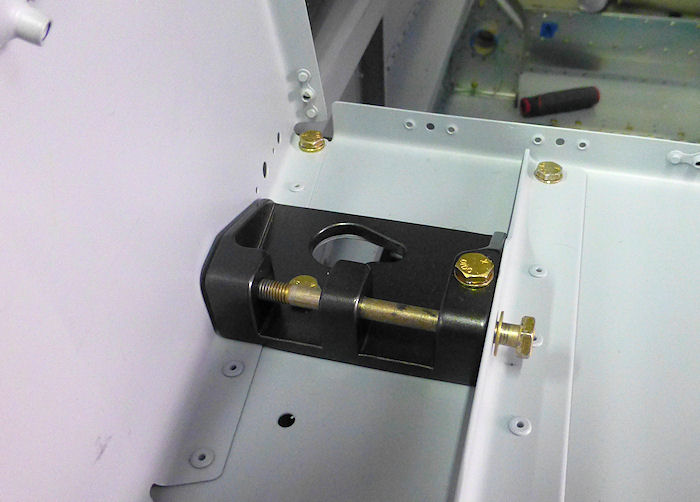
| Step 14: Install the
right lift cylinder and servo deck support. 01/08/15 |
 |
|||||||
| Page 04.03 |
|
|
|
||||||||||
|
Disclaimer : Information contained on this Site may be out of date and /or inaccurate - Please Confirm any important data with a reliable source. |