
| Home | Empennage kit | Wing Kit | Fuselage Kit | Finish Kit | Power Plant Kit | Avionics | Paint | Interior | Home |
 |
|||||||||||
|
|||||||||||
| Home | Alterations | Vendors | Builders Log | Home |
|
Alteration 04 Canopy Lock / Lift / Alarm |
|
|||||||
| Page 04.04 | NOTE: Any alteration will require it to be registered as Experimental-Amateur Built E-AB | |||||||
|
Parts
|
||||||||
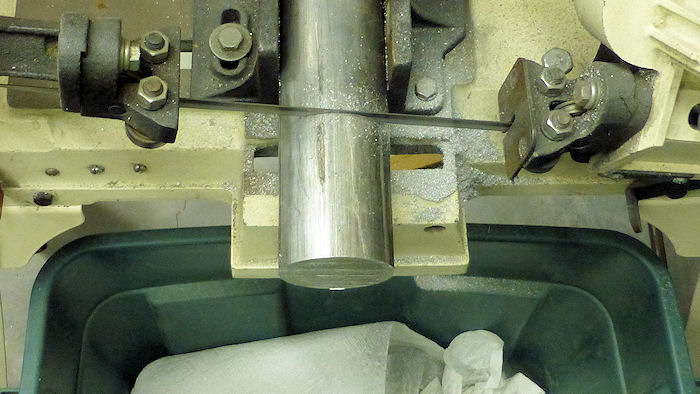
| Step 01: Cut off 3
pieces off 3.5" of
2 1/2 inch 2024T3 aluminum rod. 08/09/14 |
 |
|||||||
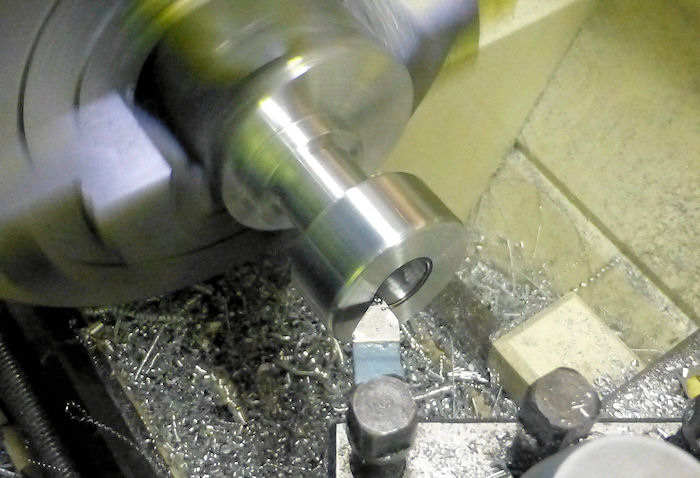
| Step 02: Use a 4 Jaw
Chuck to make a offset for the bearing and the torque transfer dog in the lathe.
Then drill and ream a 5/8" hole for the 5/8" torque transfer rod. 08/17/14 |
 |
|||||||
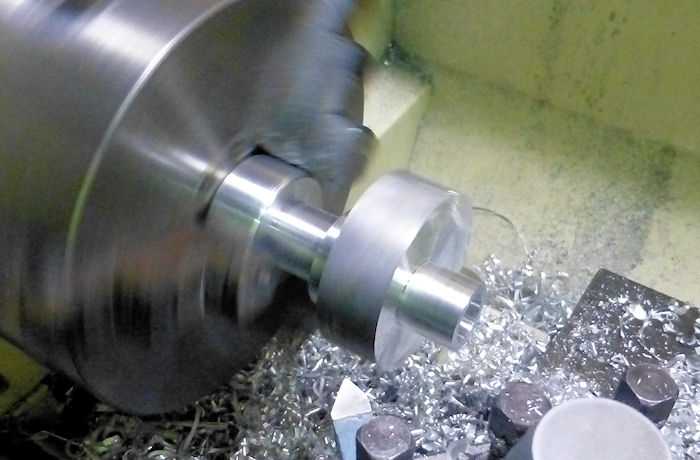
| Step 03: install the 3
Jaw Chuck then cut away the area used to hold the part in the 4
Jaw chuck. Mill and drill to finish the parte as shown in Step:04 08/17/14 |
 |
|||||||
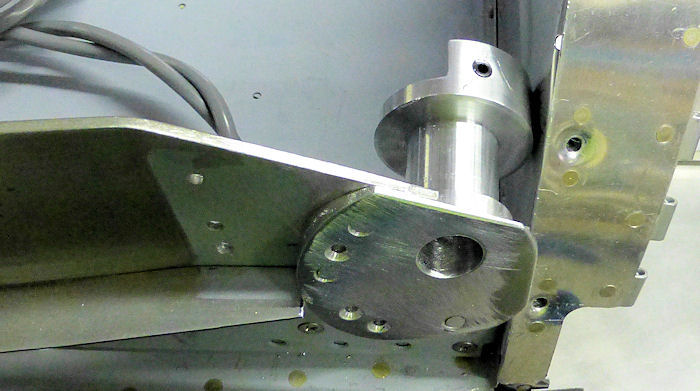
| Step 04: Drill then
rivet the part to the right side of the canopy frame. 10/02/14 |
 |
|||||||
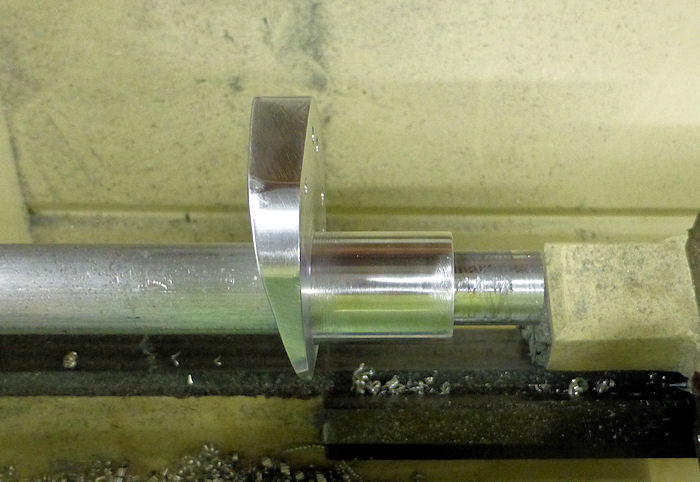
| Step 05: Mill to shape. |
 |
|||||||
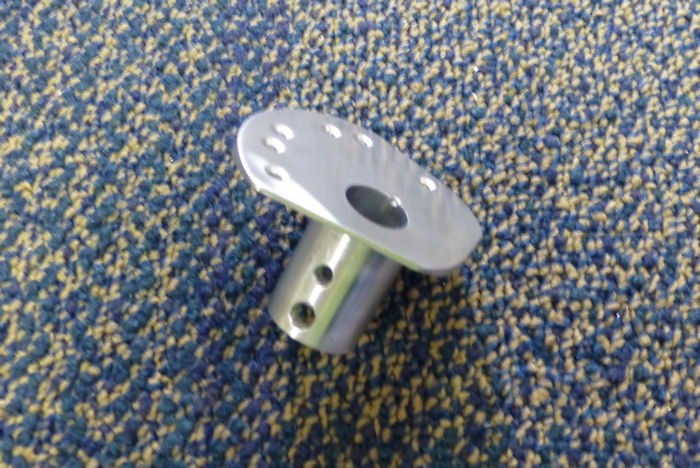
| Step 06: Drill ,cut,
sand and file 10/02/14 |
 |
|||||||
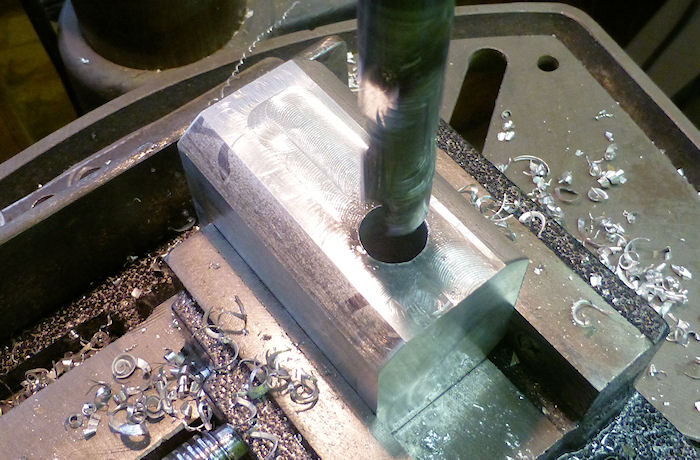
| Step 07: Mill flat then
dril and ream a .0625 hole 08/17/14 |
 |
|||||||
|
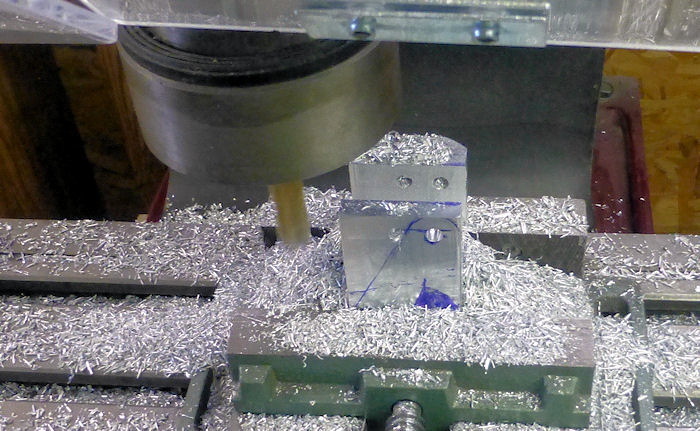
Step 08: Layout then drill and mill to make the lift lever. 09/01/14 |
 |
|||||||
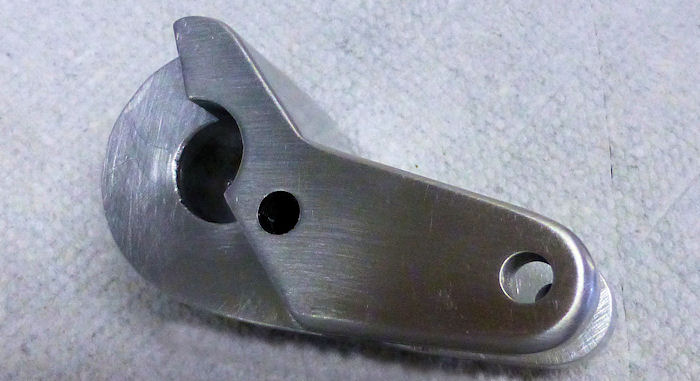
| Step 09: The finished
lift lever. Note: The .0250 hole will be used for a detent pin and spring to allow ( with a little push ) to open the canopy if the lift servo fails. 11/01/14 |
 |
|||||||
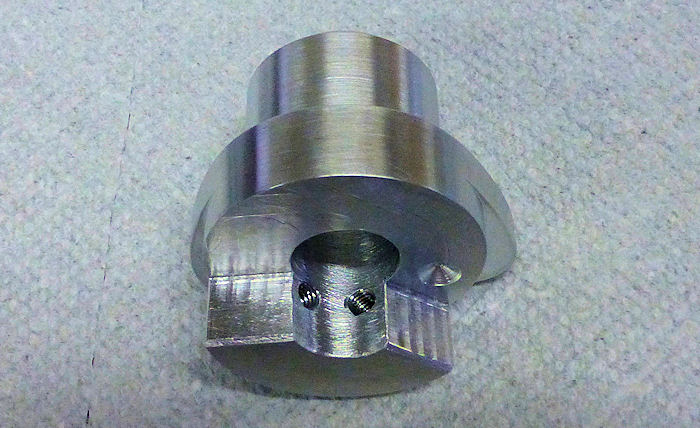
| Step 10: Make the left
side lift dog. Note: The hole for the detent pin. 11/01/14 |
 |
|||||||
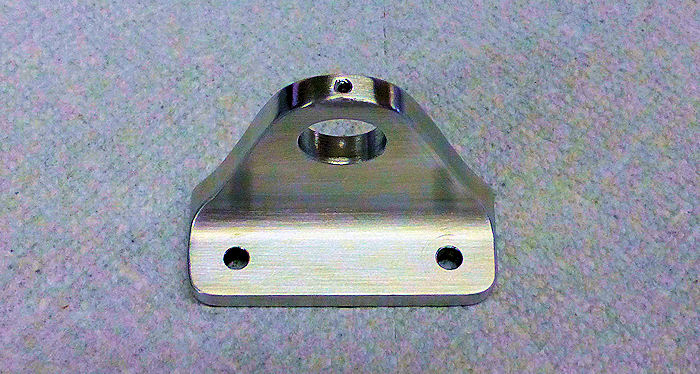
| Step 11: Make the
torque rod center support. Note: The hole in the top for a few drops of oil. 11/01/14 |
 |
|||||||
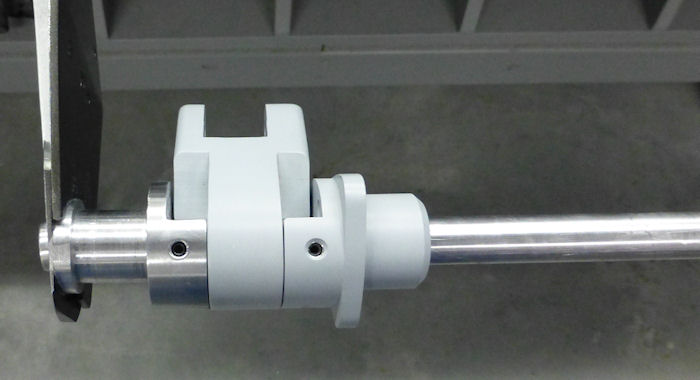
| Step 12: The parts of
the lift assembly. Note: the cam on the left side lift dog, this will be used for a micro switch to allow the canopy to only lock when the canopy is closed. 11/01/14 |
 |
|||||||
| Page 04.04: Canopy Lift |
|
|
|
||||||||||
|
Disclaimer : Information contained on this Site may be out of date and /or inaccurate - Please Confirm any important data with a reliable source. |