
| Home | Empennage kit | Wing Kit | Fuselage Kit | Finish Kit | Power Plant | Avionics | Paint | Interior | Home |
 |
|||||||||||
|
|||||||||||
| Home | Alterations | Vendors | Builders Log | Home |
|
Alteration 14 Tailcone Fairing |
|
|||||||||||
| Page 02: Fiberglass Flange | NOTE: Any alteration will require it to be registered as Experimental-Amateur Built E-AB | |||||||||||
|
|
This Alteration is to remove the upstream overlap of the tailcone fairing | |||||||||||
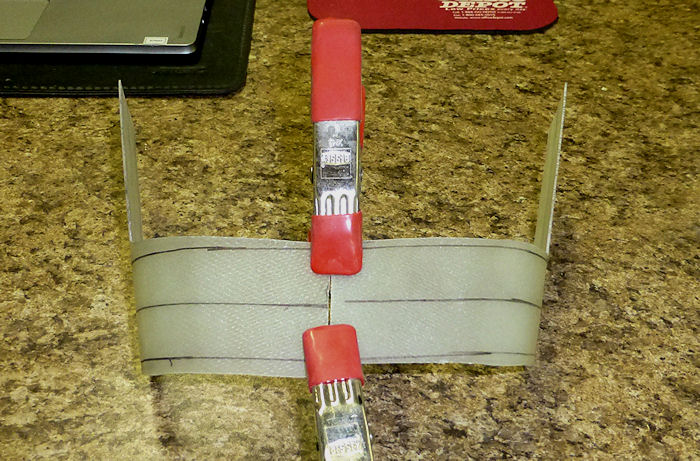
| Step 01: Mark then ruff
cut two one left and right fiberglass flanges from the scrap from the
tailcone fairing as shown. 08/27/15 |
 |
|||||||||||
| Step 02: Test fit the
mark then cut the fiberglass flanges as shown 08/27/15 |
5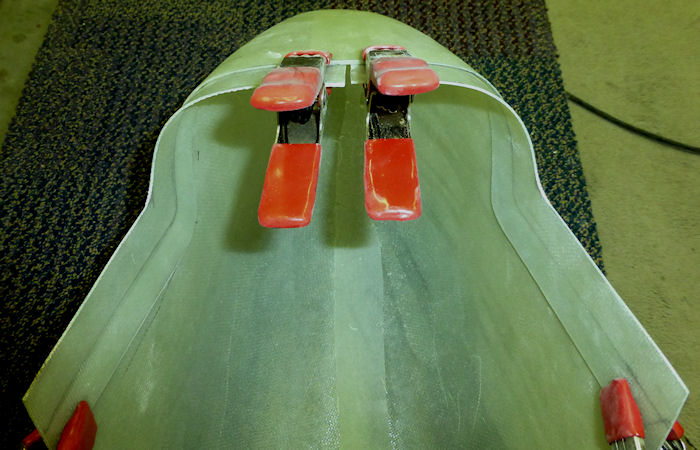 |
|||||||||||
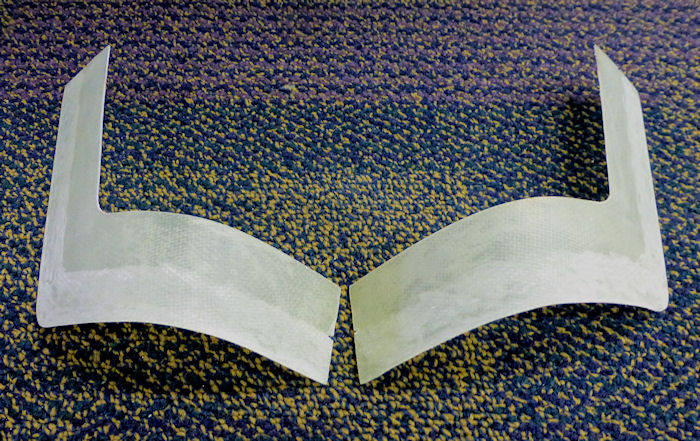
| Step 03: Scuff and
clean the two flanges as shown. The small notch at each end is the match line for gluing to the tailcone fairing. 08/27/15 |
 |
|||||||||||
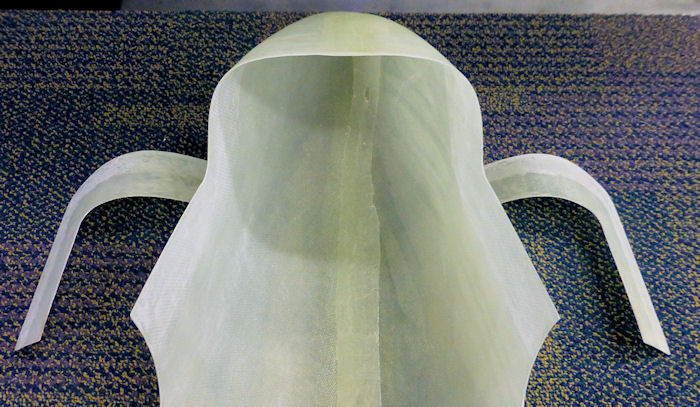
| Step 04: Scuff the
inside of the tailcone back 2" from the match line to allow for the
fiberglass strip that will be added in a latter step. 08/27/15 |
 |
|||||||||||
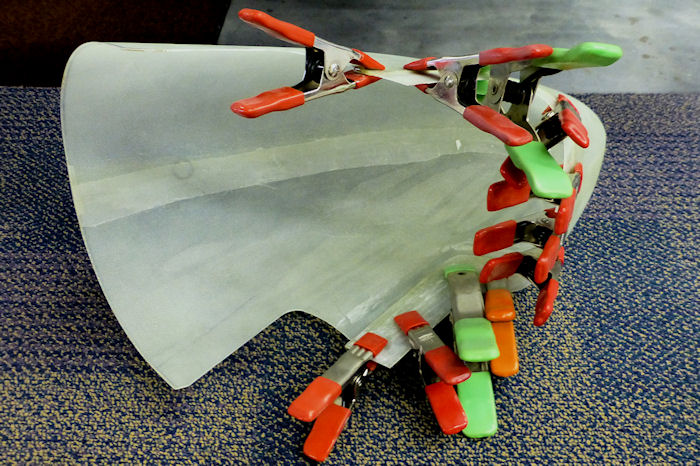
| Step 05: Glue the
flanges in place with West system G/flex 655 thickened Epoxy Adhesive. Remove the clamps one at a time and wipe any adhesive that squeezed out and reinstall before removing the next clamp. 08/27/15 |
 |
|||||||||||
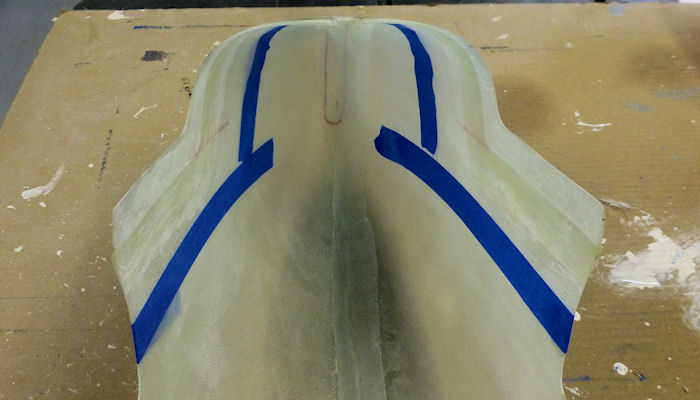
| Step 06: Feather the
edge of the flanges you glued in step 05. This will allow the layers you install to be blended in without causing a step. 08/30/15 |
 |
|||||||||||
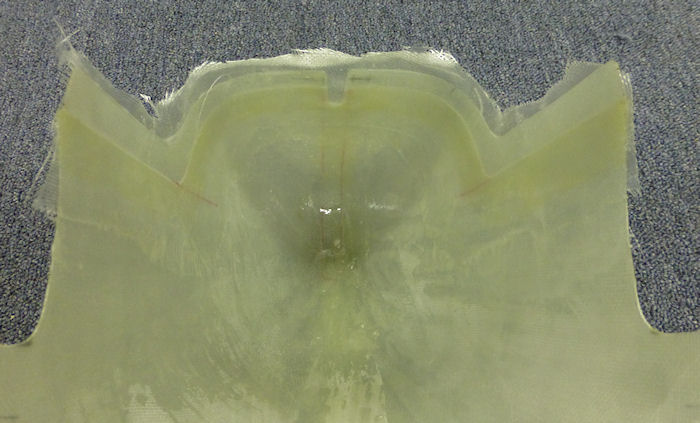
| Step 07: Add three
layers of fiberglass as shown. This will add strength and thickness to allow for countersink rivets in the nutplates. 08/30/15 |
 |
|||||||||||
|
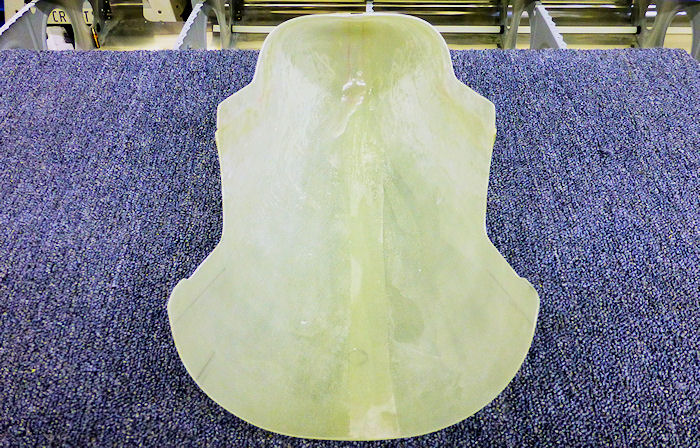
Step 08: Trim and sand to remove the excess fiberglass. 08/31/15 |
 |
|||||||||||
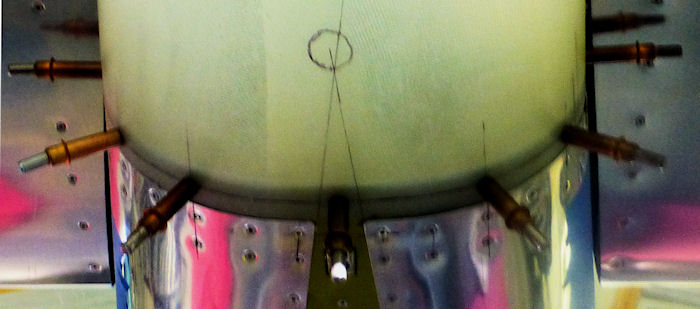
| Step 09: Lay out and
adjust for best fit, then drill and add clecos as you go. See step: 14.01.08 these two steps are the same and should be preformed at the same time. 09/03/15 |
 |
|||||||||||
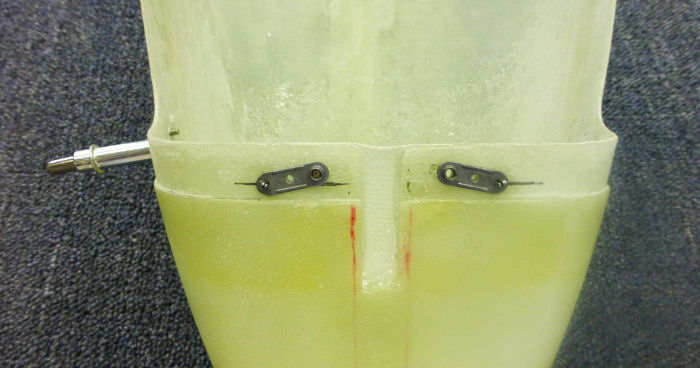
| Step 10: Layout and add
nutplates. 09/02/15 |
 |
|||||||||||
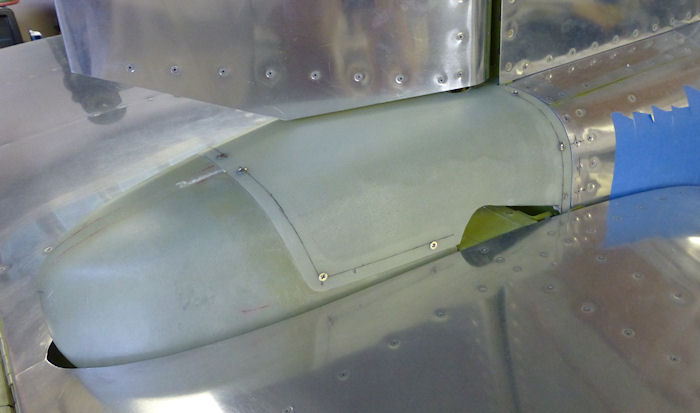
| Step 11: Test fit the
fairing cover. 09/03/15 |
 |
|||||||||||
| Page 02: Fiberglass Flange |
|
|
|
||||||||||
|
Disclaimer : Information contained on this Site may be out of date and /or inaccurate - Please Confirm any important data with a reliable source. |