
| Home | Empennage kit | Wing Kit | Fuselage Kit | Finish Kit | Power Plant | Avionics | Paint | Interior | Home |
|
|
|||||||||||
|
|||||||||||
| Home | Alterations | Vendors | Builders Log | Home |
|
Alteration 14 Tailcone Fairing |
|
|||||||||||
| Page 01: Attach Flange | NOTE: Any alteration will require it to be registered as Experimental-Amateur Built E-AB | |||||||||||
|
|
This Alteration is to remove the upstream overlap of the tailcone fairing | |||||||||||
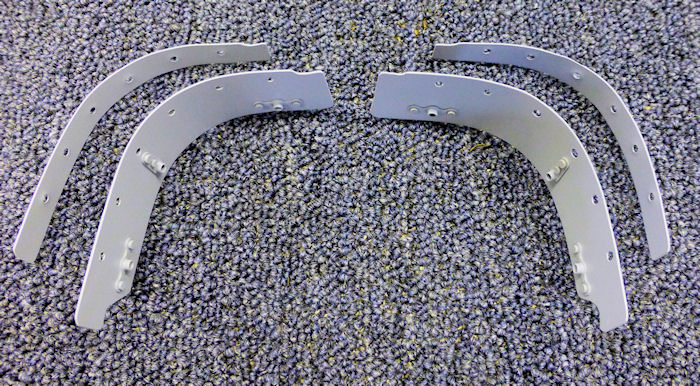
| Step 01: | ||||||||||||
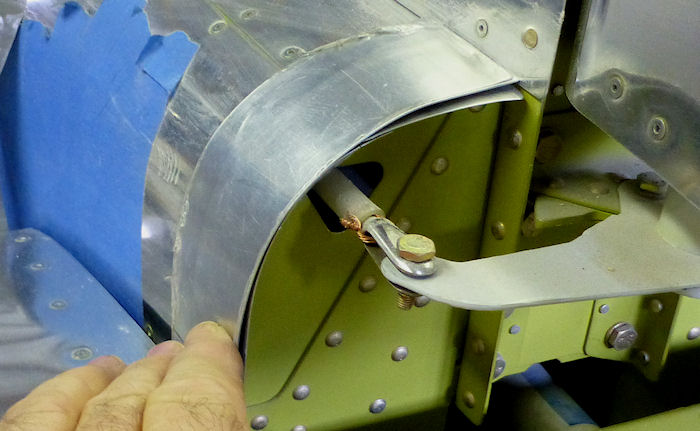
| Step 02: Bend to match
the left and right side of the top of the tailcone as shown. File or sand the front edge to fit flush with tailcone bulkhead The cuts you made in step one help keep the flanges in line with the tailcone angle. 08/29/15 |
 |
|||||||||||
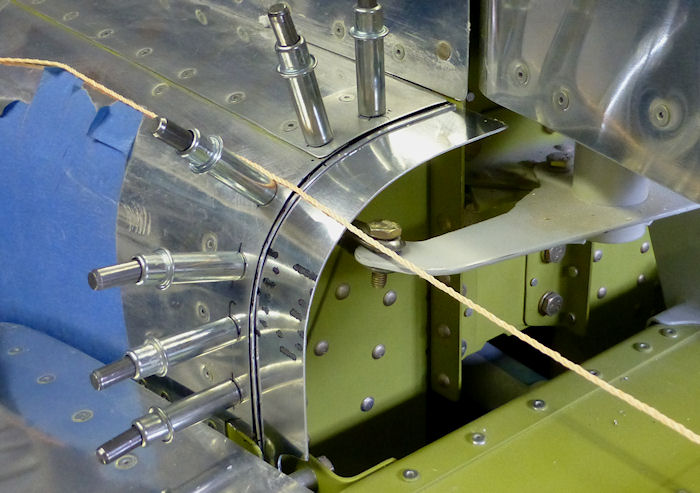
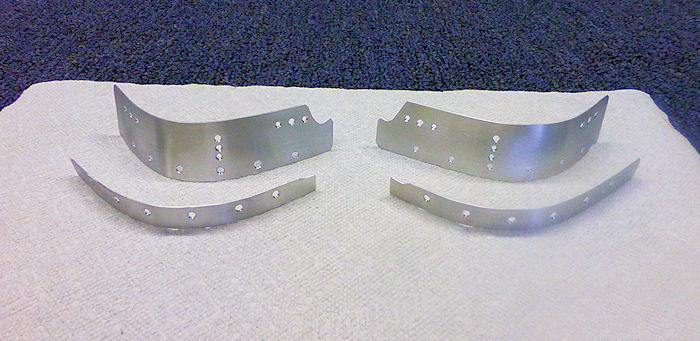
| Step 03: Make two
spacers from .032 T3 aluminum to match the thickness of the fiberglass tailcone. Layout the new rivet holes to match the rivets in the tailcone skins. Drill then cleco as you go to install the aluminum attach plates. Then re-drill #30 and re-cleco starting from the top and working down. Mark the spacer flush with the back of the tailcone. 08/29/15 |
 5 5 |
|||||||||||
| Step 04: Cut the spacer
as marked in step three and then mark a line 5/8" from the spacer as
shown. Then cut to the line and deburr. 08/29/15 |
55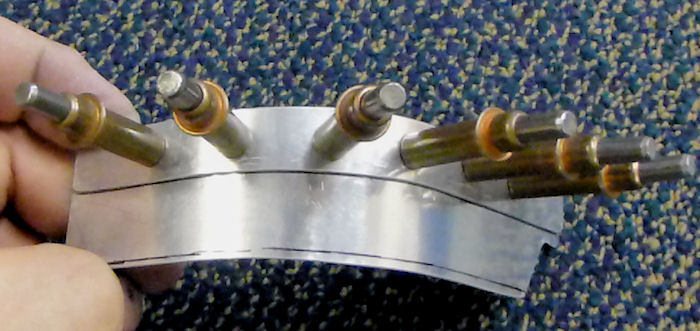 |
|||||||||||
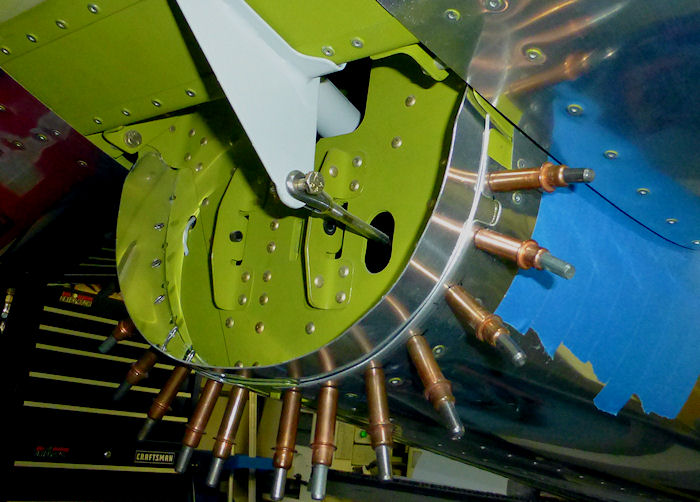
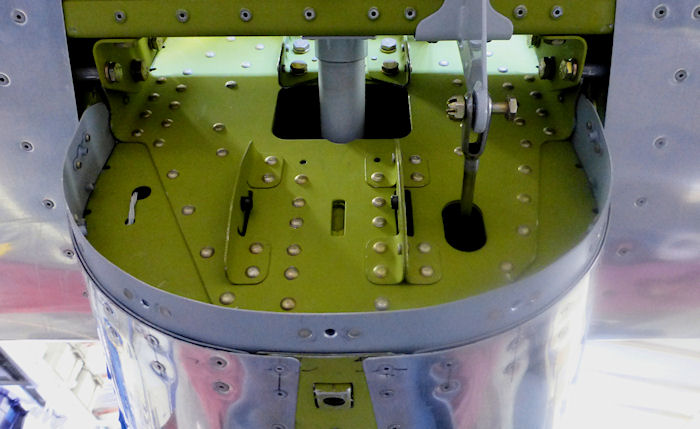
| Step 05: Dimple then
cleco upper attach flange assemblies to the tailcone as shown. The top and bottom fiberglass will need to be cut about 1/8" at the front of the match line, this will help to keep the top of the fiberglass in line with the top line of the tailcone. 08/29/15 |
 |
|||||||||||
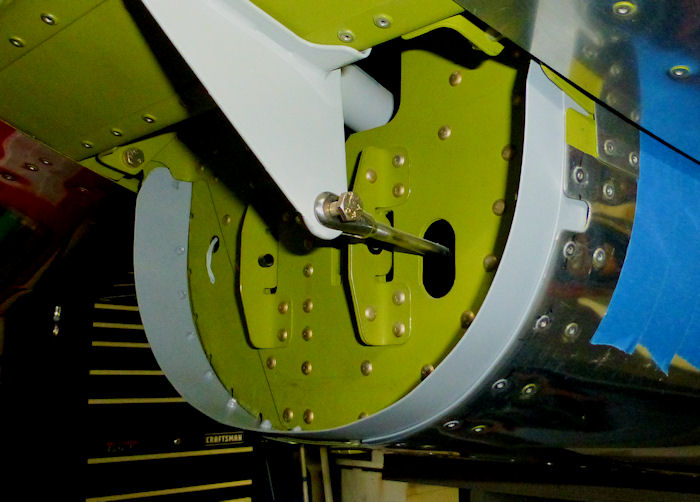
| Step 06: Repeat the same steps as above to install the bottom attach
flange. 08/26/15 |
 |
|||||||||||
| Step 07: Remove then
dimple, deburr, scuff, clean, prime and rivet as shown. 08/26/15 |
 |
|||||||||||
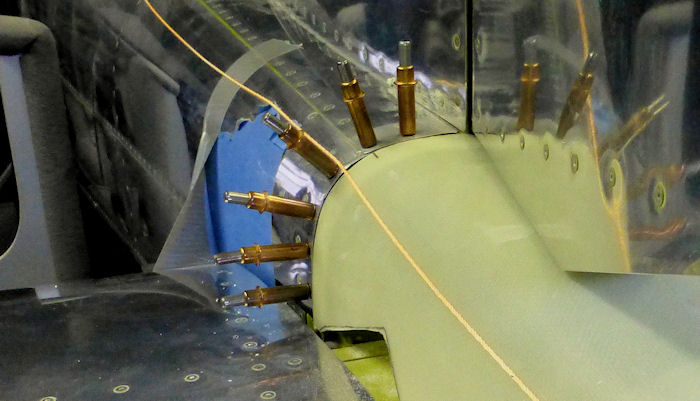
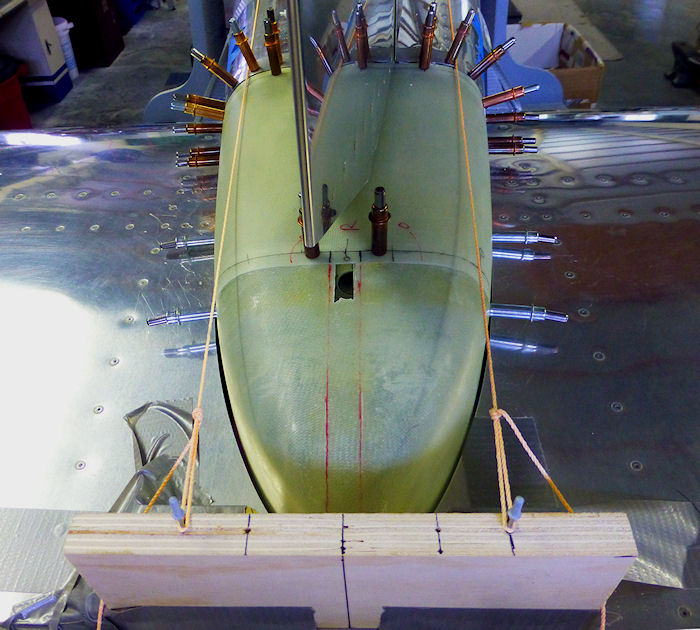
| Note preform the Steps
on 14.02.01 though 14.02.09 The steps on these two pages overlap. Step 08: Install tailcone fairing, mark, cut, file for best fit to the centerline of the aircraft. The two strings are a projection of the top skin to help confirm the true centerline of the stabilator. Then lay out drill and cleco all the attach holes to the new tailcone flanges. 08/31/15 |
 |
|||||||||||
| Step 09: Remove the top
left and right attach flanges then drill and countersink for nutplates,
deburr, scuff,
and clean for priming. 09/03/15 |
 |
|||||||||||
|
Step 10: Prime then install nutplates and re-prime. 09/03/15 |
 |
|||||||||||
| Step 11: Layout and drill holes for seven nutplatesd. | ||||||||||||
| Step 12: Install seven
nutplates. 09/03/15 |
 |
|||||||||||
| Page 01: Attach Flange |
|
|
|
||||||||||
|
Disclaimer : Information contained on this Site may be out of date and /or inaccurate - Please Confirm any important data with a reliable source. |