
| Home | Empennage kit | Wing Kit | Fuselage Kit | Finish Kit | Power Plant Kit | Avionics | Paint | Interior | Home |
 |
|||||||||||
|
|||||||||||
| WING ATTACH | WIRING | FLIGHT CONTROL | MISCELLANEA | CANOPY | LANDING GEAR | FUEL | COWLING | OPTION'S | BUILDERS LOG |
| Page 32.07: FLIGHT CONTROLS |
|
||||||||||||||||||||||
|
Alteration - Removing Flap Handle and Adding
electric Flaps Step 01: Make a one inch shaft. 11/09/13 |
 |
||||||||||||||||||||||
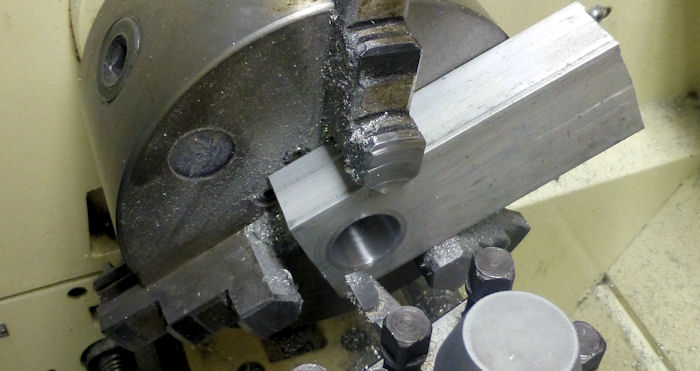
| Step 02: Bore a one
inch hole using only two jaws of a three jaw chuck. 11/09/13 |
 |
||||||||||||||||||||||
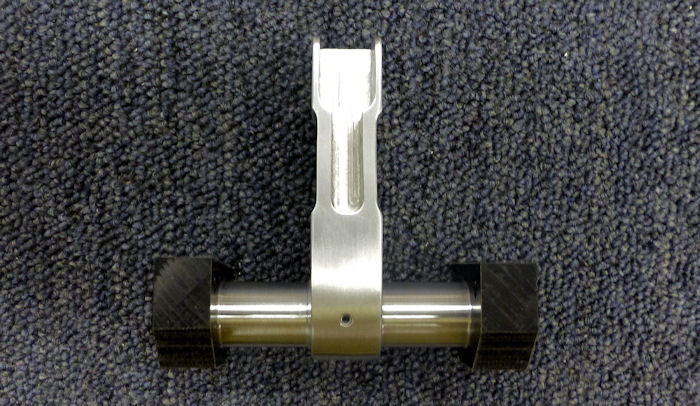
| Step 03: A little time
in the milling machine. 11/11/13 |
 |
||||||||||||||||||||||
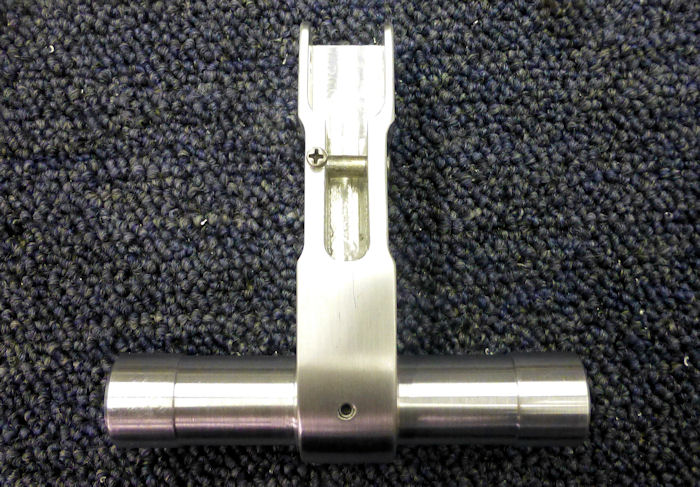
| Step 04: Add a 1/4"
pin, the screw will be replaced with a set screw. 11/28/13 |
 |
||||||||||||||||||||||
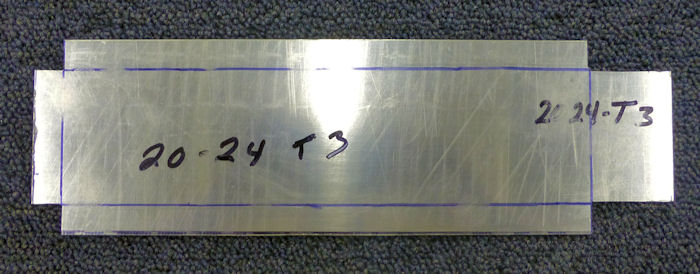
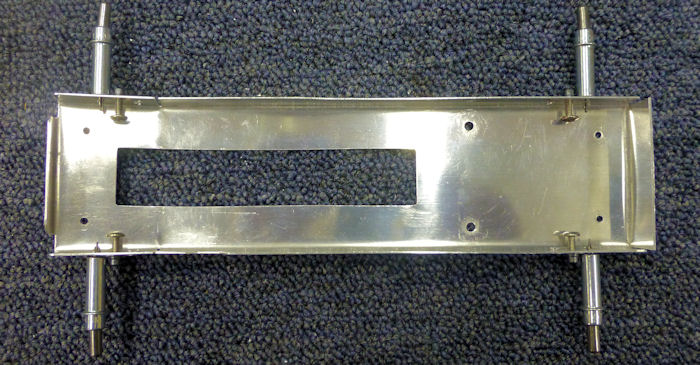
| Step 05: Cut the 20-24
T3 aluminum as shown to build the Flap Motor Tray 11/17/13 |
 |
||||||||||||||||||||||
| Step 06: Bend, cut,
drill and add nutplates. 11/28/13 |
 |
||||||||||||||||||||||
| Step 07: Add notches
for wiring and scuff and clean for priming. 11/28/13. |
 |
||||||||||||||||||||||
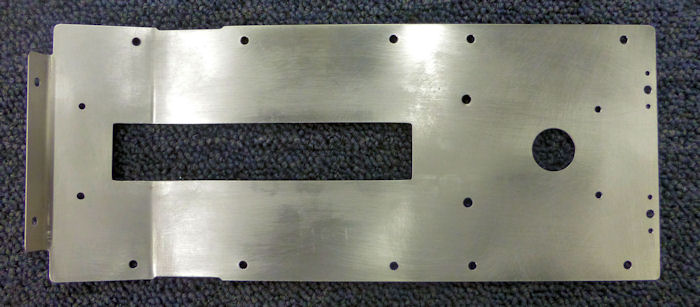
| Step 08: Layout and cut
holes for the Servo Motor 11/28/13 |
 |
||||||||||||||||||||||
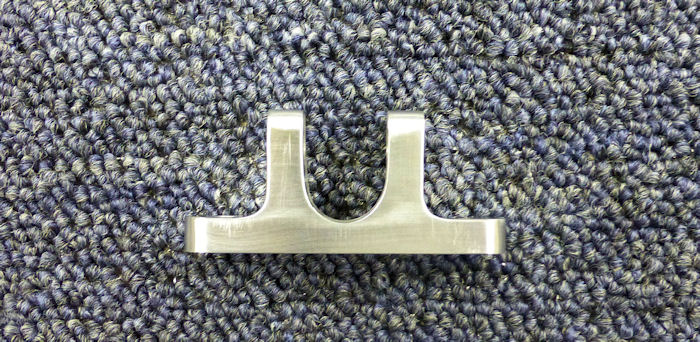
| Step 09: Make the Flap
servo fixed mount. 12/01/13 |
 |
||||||||||||||||||||||
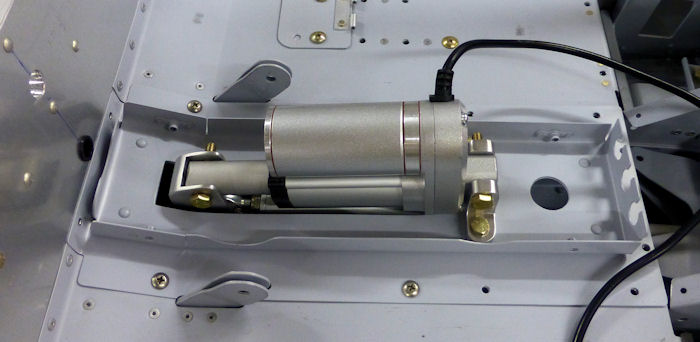
| Step 10: Install and
test after priming. 12/14/13 Builder Note: Some photos are after priming. |
 |
||||||||||||||||||||||
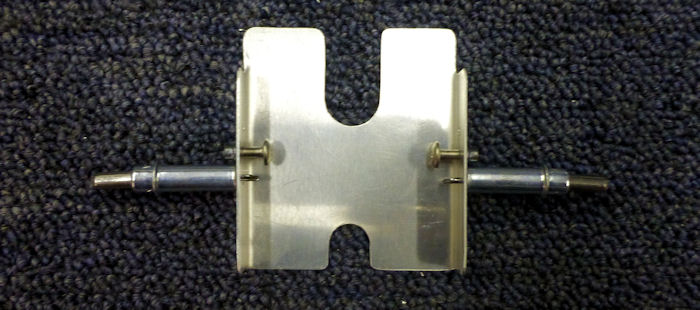
| Step 11: Make
the Back Panel for the Flap motor Cover. 11/28/13 |
 |
||||||||||||||||||||||
| Page 32.07: FLIGHT CONTROLS |
|
|
|
||||||||||
|
Disclaimer : Information contained on this Site may be out of date and /or inaccurate - Please Confirm any important data with a reliable source. |