
| Home | Empennage kit | Wing Kit | Fuselage Kit | Finish Kit | Power Plant Kit | Avionics | Paint | Interior | Home |
|
|
|||||||||||
|
|||||||||||
| CENTER SECTION | MID FUSE | LOWER FUSE | SIDE SKINS | ROLLOVER | TAIL ATTCH | SEATS | PEDALS | FUEL | FWD FUSE | BUILDERS LOG |
|
Page 21.02 Mid Fuse Ribs & Bottom Skins |
|
||||||||||||||||||||||
|
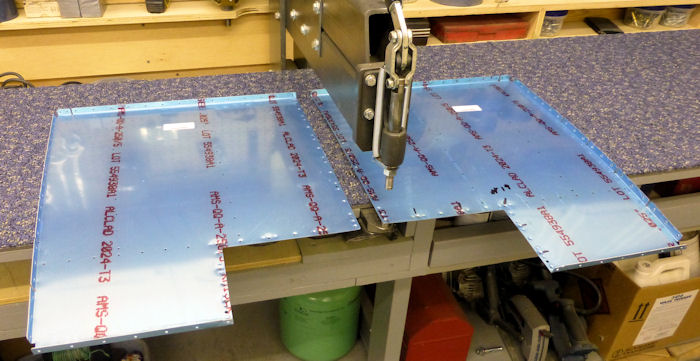
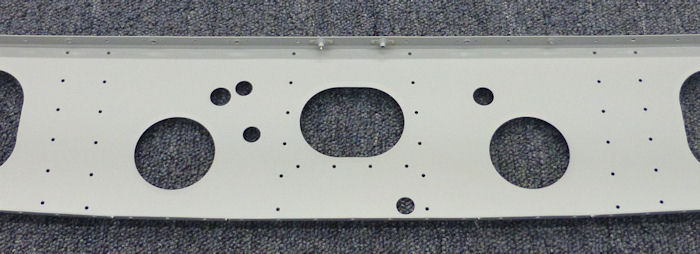
Step 01: Dimple ( flush on top surface ) the five indicated #19
holes in the F-1224-R Baggage Floor. See Figure 1. In both the F-1224-L
& R Baggage Floors, dimple all of the #30 and #40 holes along the edges
bordered by the dashed lines. 07/29/12 Builder Note: Alteration Dimpled holes for Flush Rivets |
 |
||||||||||||||||||||||
|
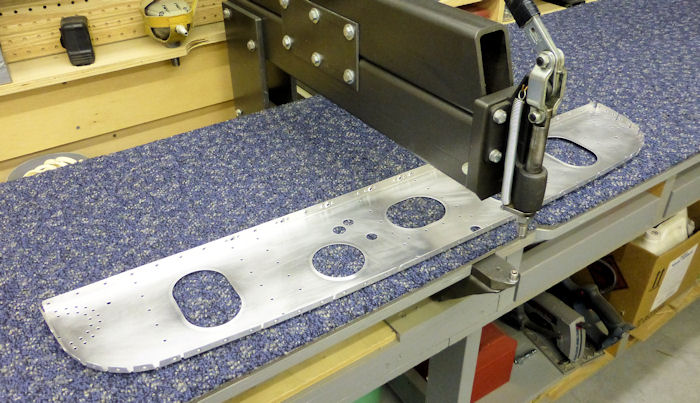
Step 02: Rivet the F-1224-L & R Baggage Floors to
the F-1204D Center Section Aft Bulkhead and F-1204F-L & R Aft Side
Bulkhead using the rivets called out in Figure 1. Use two thin flush
sets in a hand squeezer and apply tape to the squeezer to prevent
scratching the baggage flors. 08/01/12 Builder Note: Cupped and Flush set used to squeeze rivets. |
 |
||||||||||||||||||||||
|
Step 03: Dimple the holes in the F-1221-L & R Baggage Ribs that
correspond to the dimpled holes in the F-1223-L & R Baggage Floors. 07/29/12 |
 |
||||||||||||||||||||||
|
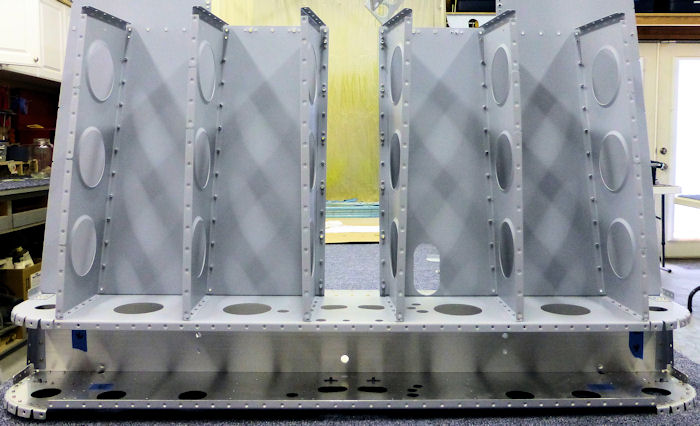
Step 04: Rivet the F-1221-L & R, F122-L &R and
F-1223-L & R Baggage Ribs to the F-1204D Center Section Aft Bulkhead and
F-1224-L & R Baggage Floors using the rivets so the manufactured heads
are on the bulkhead. 08/01/12 Builder Note: Alteration Rivets used |
 |
||||||||||||||||||||||
|
Step 05: Dimple the nutplates depicted in Figure 2, then rivet
them to the F-1221-L & R Baggage Ribs and F-1224-L & R Baggage Floors.
07/30/12 |
 |
||||||||||||||||||||||
|
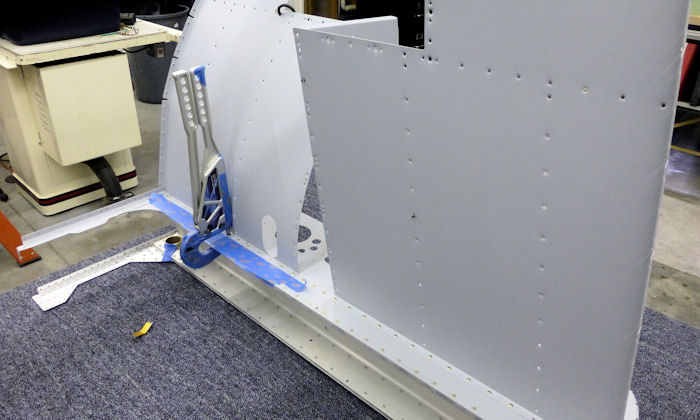
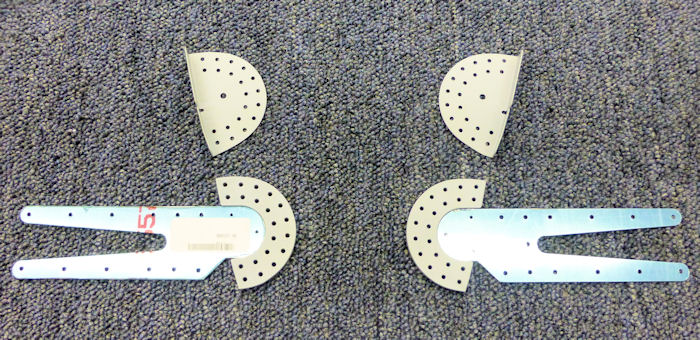
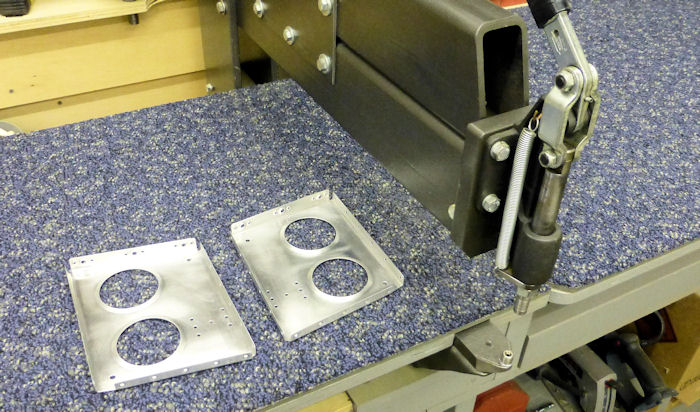
Step 06: Separate the F-1206B Rear Spar Receptacle Support by
removing the hatched areas shown in Figure 3. 07/30/12 |
 |
||||||||||||||||||||||
|
Step 07: File the curved recess of both F-1206C Rear Spar
Receptacles to closely fit the rounded mating ends of the rear Spar
Assemblies of both wings. The small flat on both rear spar receptacles
locates the top of parts. Once filed, mark the parts so that they will
be assembled on the side they were fitted to. 08/01/12 Builders Note: Wings will be built after Finish Kit |
 |
||||||||||||||||||||||
|
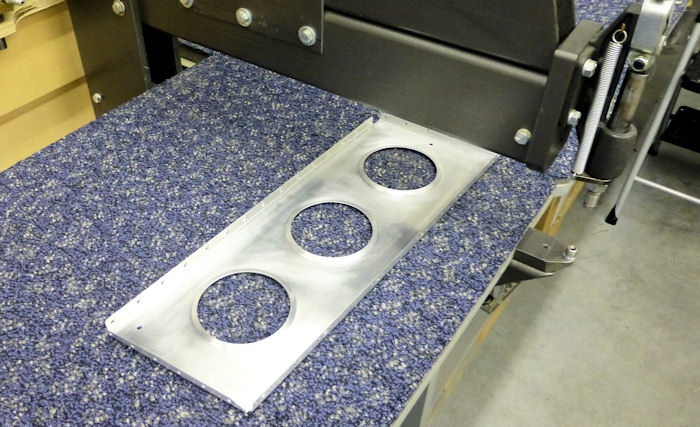
Step 08: Rivet the F-1206B-L & R Rear Spar Receptacle Supports
and the F-1206C Rear Spar Receptacles to the F-1206A Bulkhead using the
rivets called out in Figure 4. Insert the rivets in all the holes be
fore setting any of them. 08/02/12 |
 |
||||||||||||||||||||||
|
Step 09: Dimple the #19, #30 and #40 holes in the
top flange of the F-1206A Baggage Bulkhead that correspond to the
dimpled holes in the F-1223-L & R Baggage Floors ( see Page 21-3, Figure
1 for the orientation of the bulkhead on the baggage floors ). Step 10: Dimple the nutplate attach rivet holes in the top flange of the F-1206A Bulkhead for the two nutplates depicted in Figure 4. 07/30/12 |
 |
||||||||||||||||||||||
|
Step 11: Dimple the two nutplates depicted in Figure 4, then
rivet them to the top flange of the F-1206A Bulkhead. 08/02/12 |
 |
||||||||||||||||||||||
| Step 12: Dimple the nutplates called out in Figure 5 and the corresponding holes in the top flange of the F-1206G-L & R Baggage Ribs. |
 |
||||||||||||||||||||||
|
Step 13: Rivet the nutplates called out in Figure 5 to the
F-1206G-L & R Baggage Ribs. 08/02/12 Builder Note: Alteration Add Bearing Bracket Rivets used See 21-03-08 |
 |
||||||||||||||||||||||
|
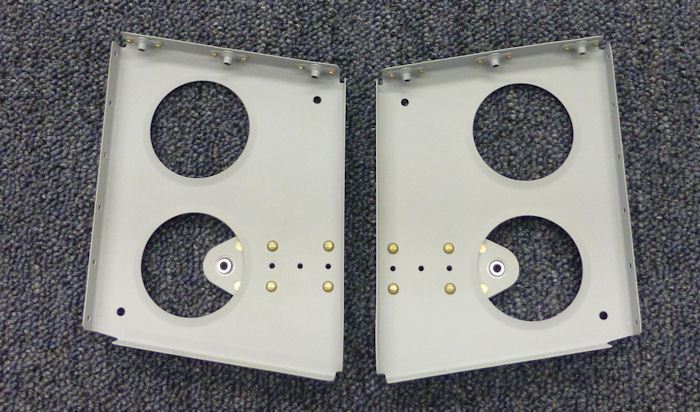
Step 14: Rivet Together two Bearing Brackets Assemblies using
F-1206D Bearing Brackets and the hardware called out in Figure 6.
Machine countersink one side of both Bearing Bracket Assemblies for the
flush rivets shown. 08/02/12 |
 |
||||||||||||||||||||||
|
Page 21.02 Mid Fuse Ribs & Bottom Skins |
|
||||||||||||||||||||||
|
|||||||||||||||||||||||
| Drill Chart | Tap Chart | Bolt Chart | Nut Chart | Rivet Chart | Washer Chart | Rod Ends | Vendors | Shop | Home |
| Disclaimer : Information contained on this Site may be out of date and /or inaccurate - Please Confirm any important data with a reliable source. | |||||||||