Page 21.06
Mid Fuse Ribs
& Bottom Skins |
|
|
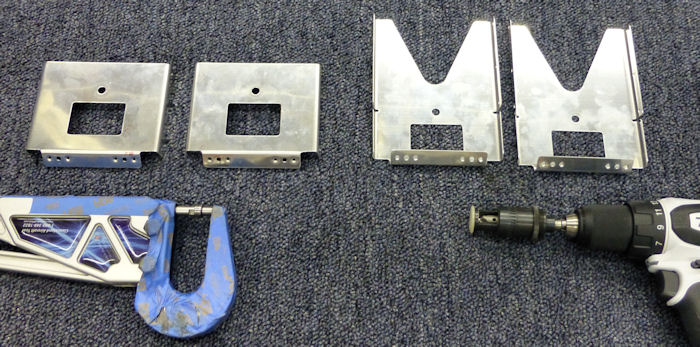
Step 01: Dimple the nutplates
attachment rivet holes in the two F1267A Crotch Strap Brackets and
machine countersink the nutplate attachment rivet holes in the two
F-1267B Crotch Strap Brackets. |
 |
|
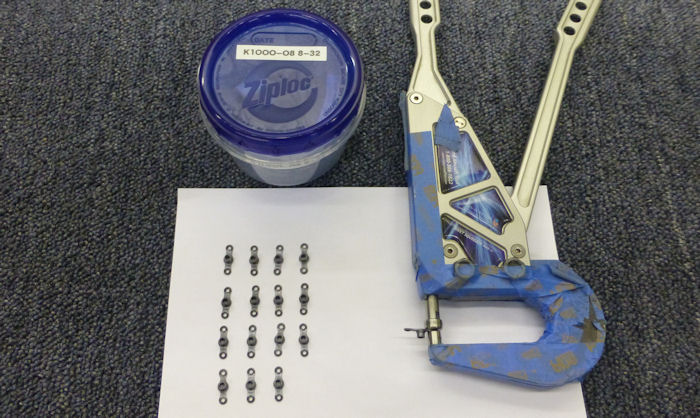
Step 02: Dimple the nutplates for
the F-1267A Crotch Strap Brackets then, using the rivets called in
Figure 1, rivet the nutplates to the F-1267A & B Crotch Strap Brackets |
 |
|
Step 03: Dimple the four #30 holes
in the sloped flange of the remaining F-1215-R Seat Rib as indicated in
Figure 2. |
|
|
Step 04: Rivet one each of the
F-1267A & B Crotch Strap Brackets to the Flaperon Mixer / Seat Rib
Assembly and to the remaining F-1215-R Seat Rib ( from step 3 ) using
the rivets called in Figure 2. |
|
|
Step 05: Dimple the four #30 holes
in the sloped flange of the one remaining F-1215-L Seat Rib as indicated
in Figure 3. |
|
|
Step 06: Rivet the remaining
F-1267A & B Crotch Strap Brackets to the Pulley Bracket / Seat Rib
Assembly and to the remaining F-1215-L Seat Rib ( from step 5 ) using
the rivets called out in Figure 3. |
|
Caution: When cutting lengths of AN257-P3, be sure enough
remains to account for the length requirements of parts given on Pages
23-08, 26-02 and 29-02
Step 07: Cut
a 20" length of AN 257-P3 hinge and remove the hinge pin. From these two
hinge haves, make four F-1237E Seatback Hinge using the dimensions given
in Figure 4. |
|
|
Step 08: As shown in Figure 4, draw
a line on the flush side of the F-1237E Seatback Hinges centered on the
locating hole drilled in the previous step. |
|
Page 21.06
Mid Fuse Ribs &
Bottom Skins |
|
|
|


