
| Home | Empennage kit | Wing Kit | Fuselage Kit | Finish Kit | Power Plant Kit | Avionics | Paint | Interior | Home |
 |
|||||||||||
|
|||||||||||
| Home | Alterations | Vendors | Builders Log | Home |
| Alteration 15.01 Wing Skin Stiffeners |
|
|||||||||||||||
| Page 15.01 | NOTE: Any alteration will require it to be registered as Experimental-Amateur-Built E-A-B | |||||||||||||||
|
Parts
|
This Alteration is to add a support brace to the W-1204B wing skin |
|||||||||||||||
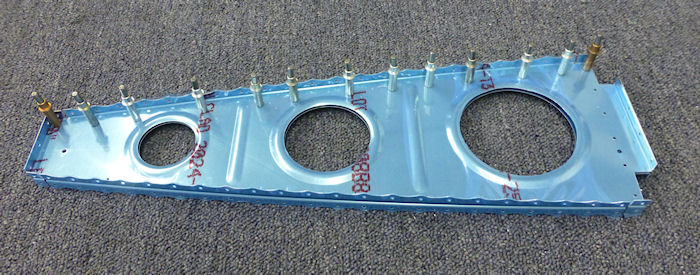
| Step 01: Take two wing
ribs one right and one left and lay out and drill # 30 for a support angle. Note: Space the holes 5/8" off the top flange and to miss the stiffeners formed in the ribs. 02/10/17 |
 |
|||||||||||||||
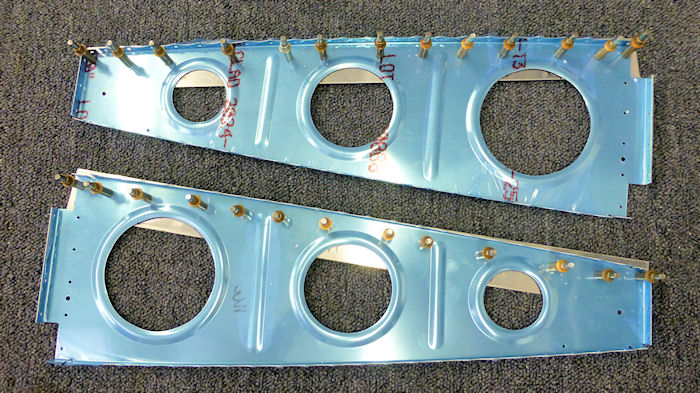
| Step 02: Match
drill a 2" .025 2024 T3 aluminum strip to the flat side of each rib as
shown. Note: drill the holes before cutting the ribs to keep the proper profile at the top of the ribs. 02/10/17 |
 |
|||||||||||||||
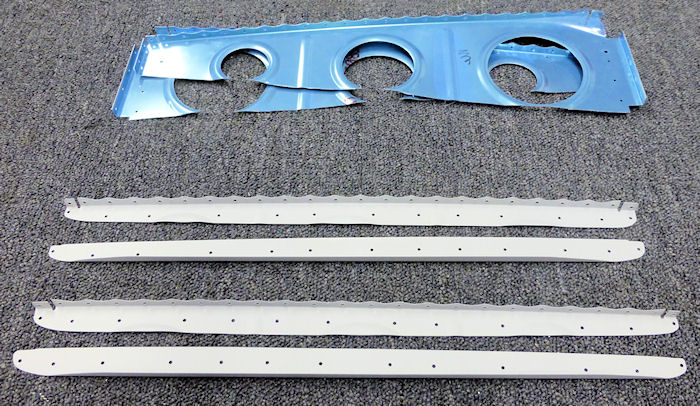
| Step 03: Cut the
ribs in a straght line at the top of the holes in the ribs as shown. Then trim the aluminum strip to fit and bend a 7/16" 90° flange at the bottom edge. Deburr,scuff and prime 02/12/17 |
 |
|||||||||||||||
| Step 04: Rivet the new
ribs together, one left and one right. Note: 2.2 oz. each 02/12/17 |
 |
|||||||||||||||
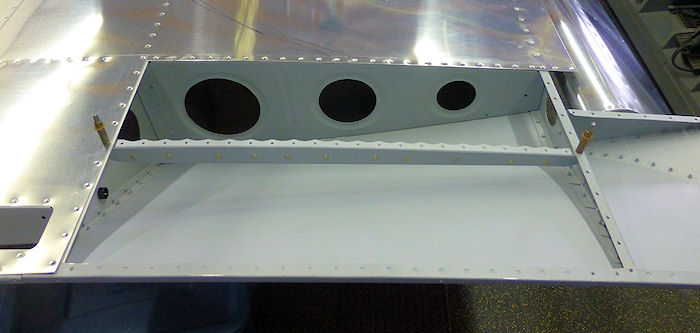
| Step 05: Test fit the
new ribs. 02/12/17 |
 |
|||||||||||||||
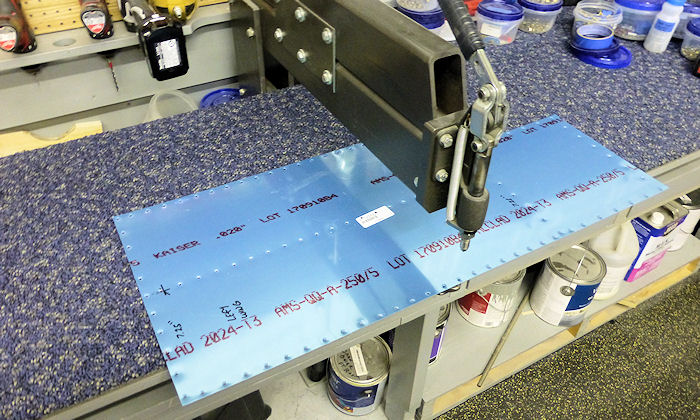
| Step 06: Order two new
W-1204B Wing Skins and match drill them to the new ribs then dimple all
the holes. 02/22/17 |
 |
|||||||||||||||
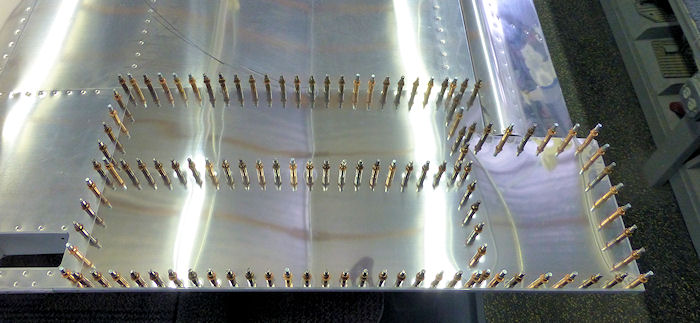
| Step 07: Cleco the new wing skin in place. |
 |
|||||||||||||||
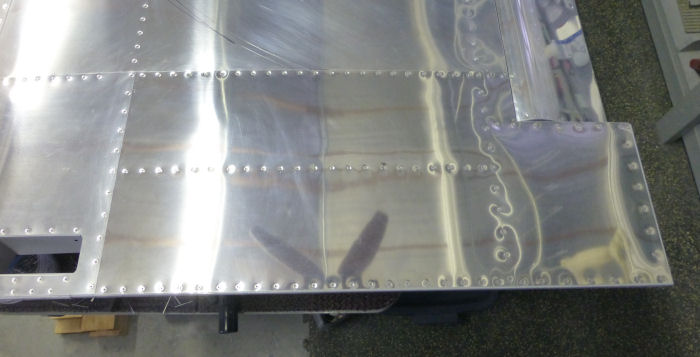
| Step 08: Remove Clecos and rivet as you go. |
 |
|||||||||||||||
| Page 15.01 Wing skin stiffeners |
|
|
|
||||||||||
|
Disclaimer : Information contained on this Site may be out of date and /or inaccurate - Please Confirm any important data with a reliable source. |