
| Home | Empennage kit | Wing Kit | Fuselage Kit | Finish Kit | Power Plant Kit | Avionics | Paint | Interior | Home |
|
|
|||||||||||
|
|||||||||||
| Home | Alterations | Vendors | Builders Log | Home |
| Alteration 03 Static / Pitot System |
|
||||||||||||
| Page 03.01 | NOTE: Any alteration will require it to be registered as Experimental-Amateur Built E-AB | ||||||||||||
|
Parts
|
This alteration will install GAP 26 heated pitot with angle of attack. |
||||||||||||
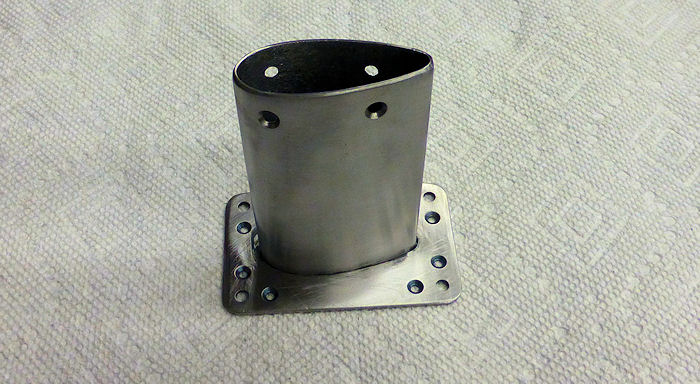
| Step 01: Cut off and
mark for the four # 6 screws. 02/27/15 |
 |
||||||||||||
| Step 02: Drill and countresink for the four # 6 screws. |
 |
||||||||||||
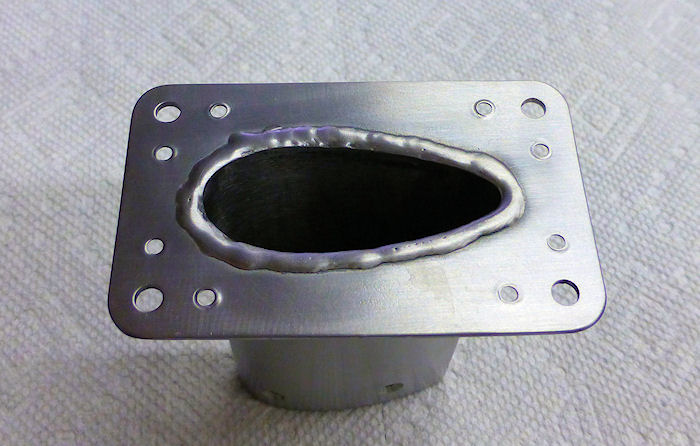
| Step 03: Polish welds ans deburr inside to prevent damage to wires. |
 |
||||||||||||
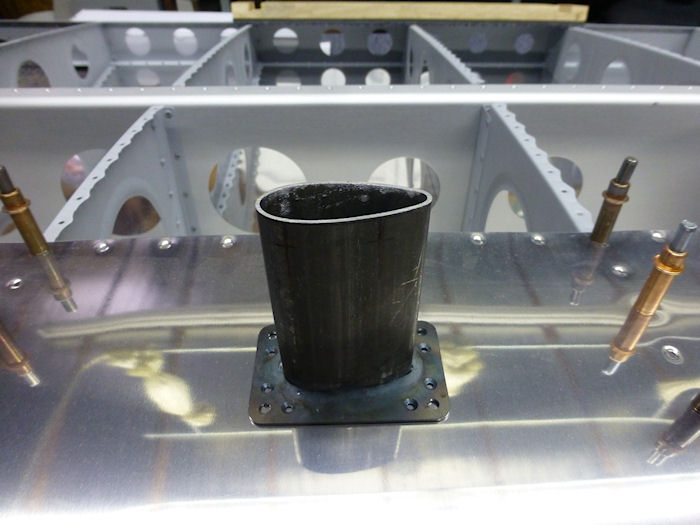
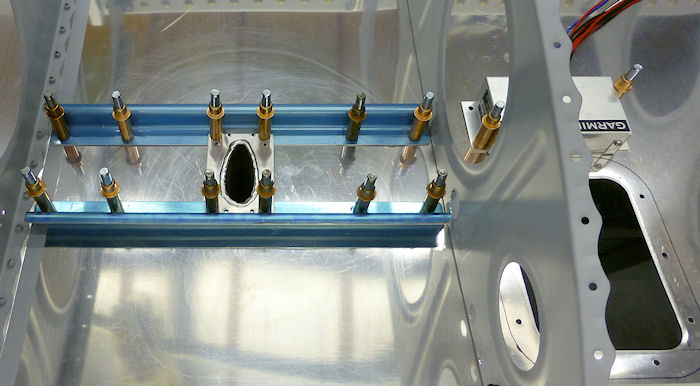
| Step 04: Lay out the center of bay and cut out the hole for the Pitot mount. |
 |
||||||||||||
| Step 05: Add reinforcement rails. |
 |
||||||||||||
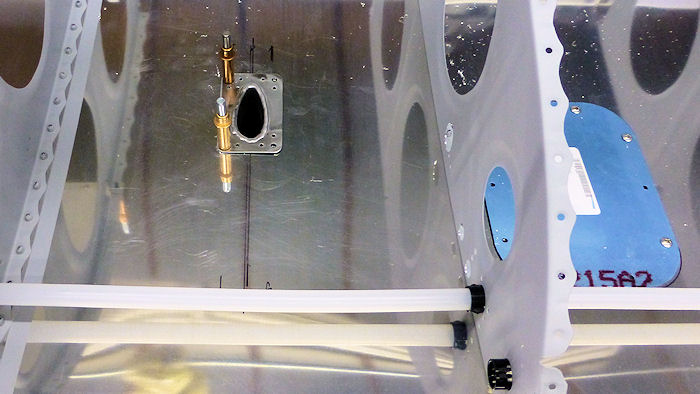
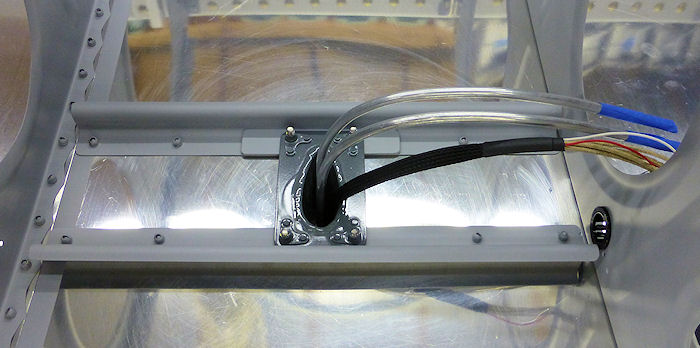
| Step 06: Prime install,
rails, nutplates and test fit. Note: Add shim at back to align with wing cord and paint inside pitot mount with heat resistance paint. |
 |
||||||||||||
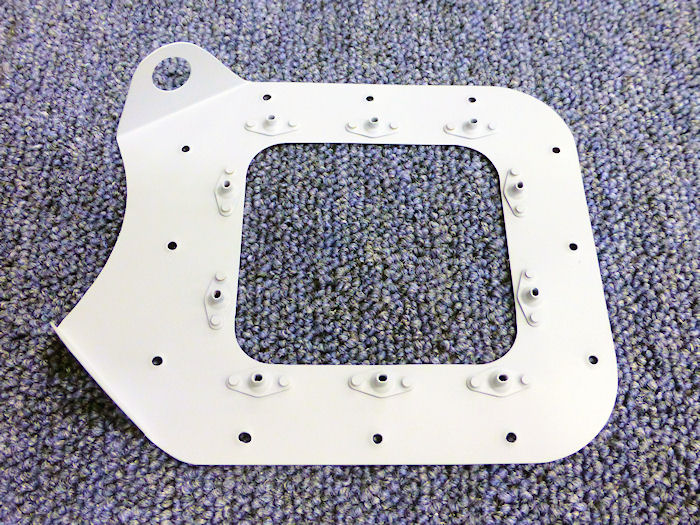
| Step 07: Make access door backing plate. |
 |
||||||||||||
| Step 08: Prime and install nutplates. |
 |
||||||||||||
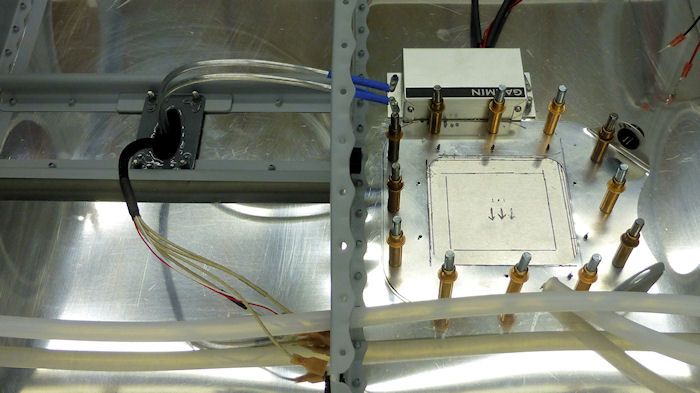
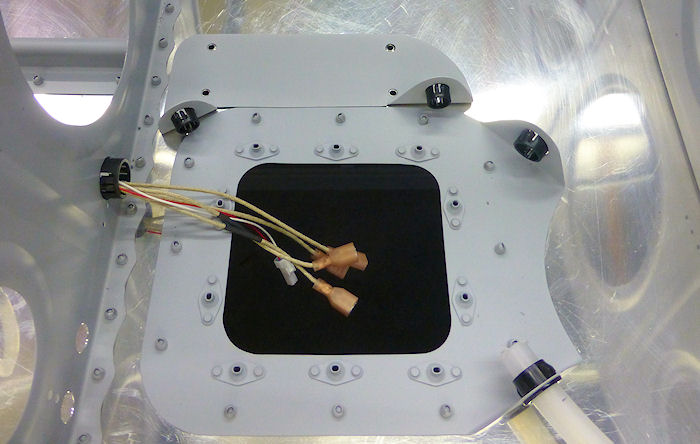
| Step 09: Install access door backing plate and make backing plate for the Pitot Heat Regulator. |
 |
||||||||||||
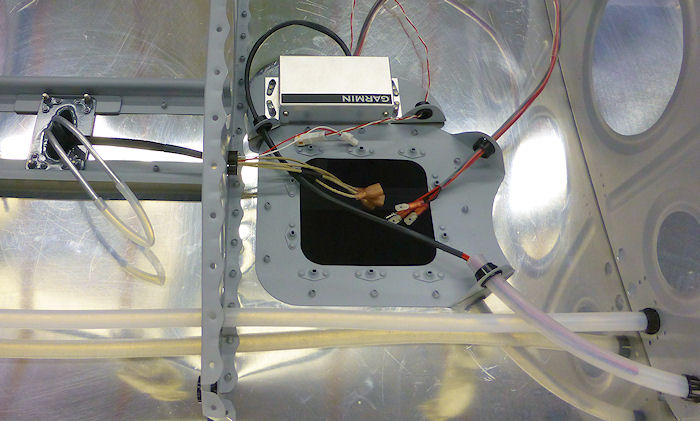
| Step 10: Test install
pitot heat regulator. 03/06/15 |
 |
||||||||||||
| Page 03.01 |
|
| 01: Flush Rivets | 02: Stab Fairings | 03: Static Air / Pitot | 04: Canopy Lock / Lift | 05: Battery Location | 06: Fuel Tanks |
| 07: Rear Windows | 08: Engine | 09: Seat Adjustment | 10: Seat Brace | 11: Brake System | 12: Electric Flaps |
| 13: Rudder Trim | 14: Tailcone Fairing | 15: Wing Skin Stiffeners | 16: Wing Tip Lights | 17: Rear Baggage | 18: Tailcone Camera |
| 19: Tailcone Stiffeners | 20: Tie Down Rings | 21: Seat Brace Handle | 22: Vent Door Knobs | ||
|
||||||||||
|
Disclaimer : Information contained on this Site may be out of date and /or inaccurate - Please Confirm any important data with a reliable source. |