
| Home | Empennage kit | Wing Kit | Fuselage Kit | Finish Kit | Power Plant Kit | Avionics | Paint | Interior | Home |
 |
|||||||||||
|
|||||||||||
| Home | Alterations | Vendors | Builders Log | Home |
| Alteration 07 Rear Windows |
|
|||||||||
| Page 07.01 Lay out and cut Aluminum | NOTE: Any alteration will require it to be registered as Experimental-Amateur Built E-AB | |||||||||
|
Parts
|
This Alteration will install two small rear windows |
|||||||||
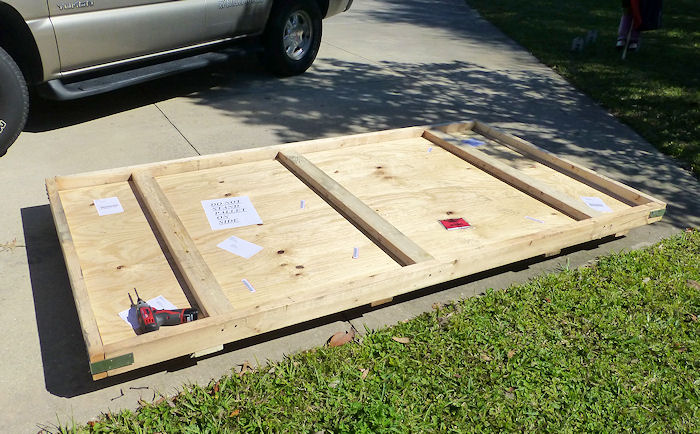
| Step 01: Order 2024T3
Alclad Sheets from Aircraft Spruce. Builders Note: I also ordered a sheet of aluminum for the wing tanks to save on shipping cost. Aircraft Spruce protected the two aluminum sheets between two sheets of 1/2" Plywood. 10/31/14 |
 |
|||||||||
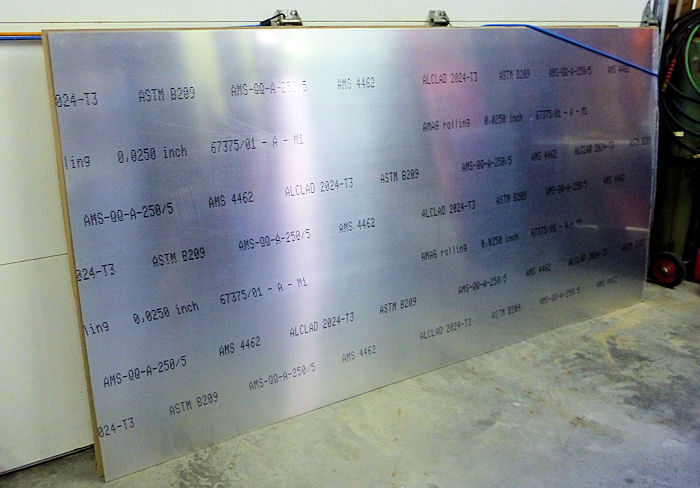
| Step 02: 2024T3 Alclad
Sheet from Aircraft Spruce in shop. 10/31/14 |
 |
|||||||||
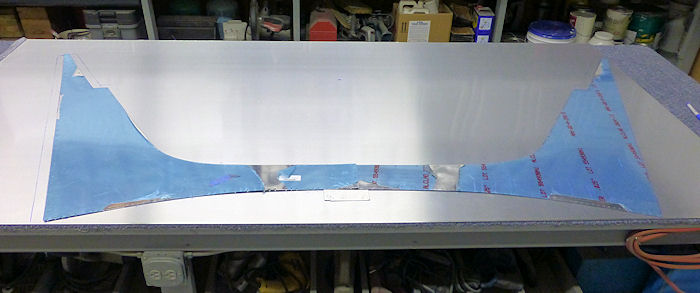
| Step 03: Use two
F-1227R Deck Skins to lay out Aclad Sheet to size. 11/02/14 |
 |
|||||||||
| Step 04: Tape and cut
to size with a fine tooth Jig saw and file smooth. 11/04/14 |
 |
|||||||||
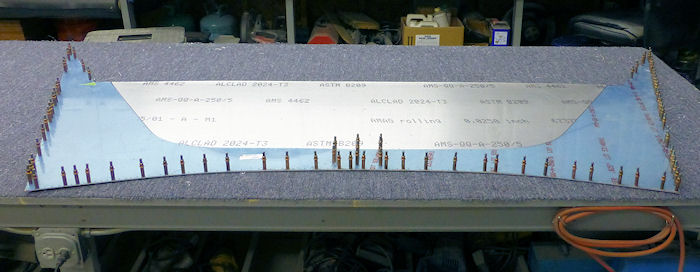
| Step 05: Drill #30 and
cleco as you go all holes in the left and right F-1227 Deck skins and
not the holes in the center joint. 11/06/14 |
 |
|||||||||
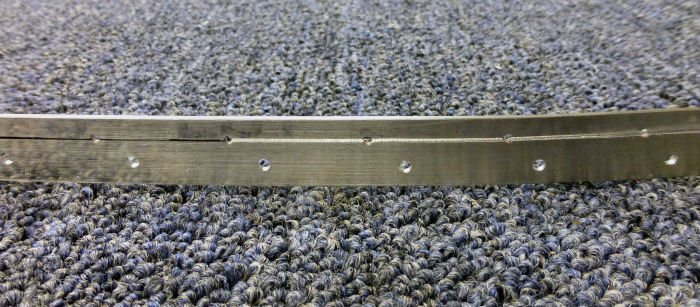
| Step 06: Cut off the
front of a F-1231B Roll Bar Strap at the hole line and file smooth. 11/06/14 |
 |
|||||||||
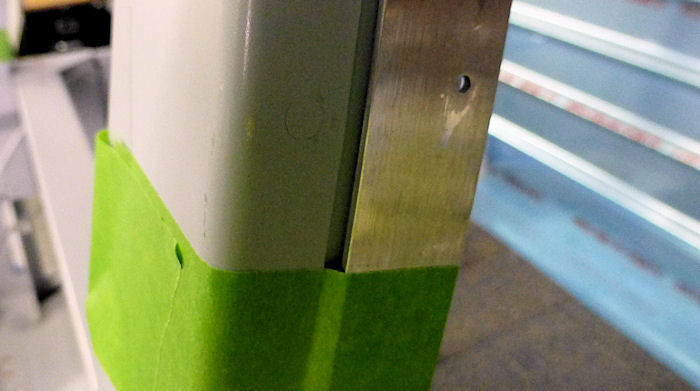
| Step 07: Tape the Cut
F-1231B Roll Bar Strap to the Roll Bar. This Strap is to raise the Skin to the height of the Canopy 11/06/14 |
 |
|||||||||
|
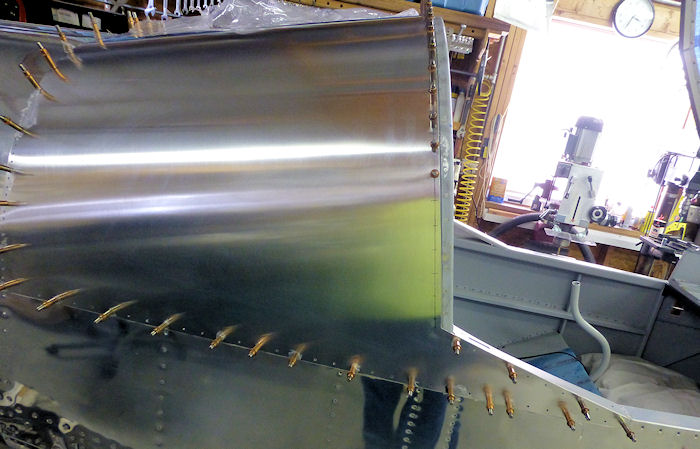
Step 08: Cleco the aluminum sheet on the aircraft and layout and
drill #30 holes at the Roll Bar Cleco as you go. 11/10/14 |
 |
|||||||||
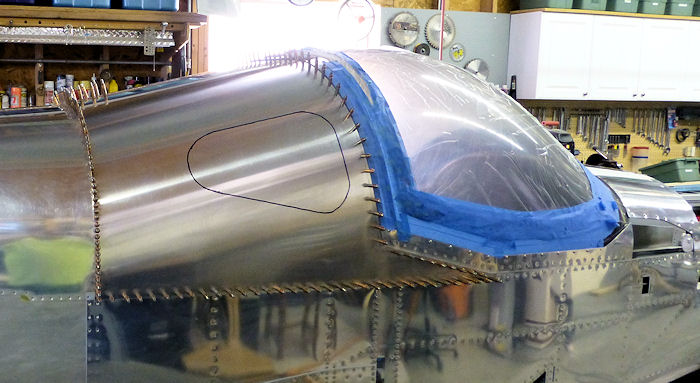
| Step 09: Layout
the new Windows 11/12/14 |
 |
|||||||||
| Step 10: Dimple all
holes, scuff and prime. 01/17/15 |
 |
|||||||||
| Page 07.01 Lay out and cut Aluminum |
|
|
|
||||||||||
|
Disclaimer : Information contained on this Site may be out of date and /or inaccurate - Please Confirm any important data with a reliable source. |