
| Home | Empennage kit | Wing Kit | Fuselage Kit | Finish Kit | Power Plant Kit | Avionics | Paint | Interior | Home |
|
|
|||||||||||
|
|||||||||||
| Home | Alterations | Vendors | Builders Log | Home |
| Alteration 16 Wing Tip Lights |
|
|||||||||||
| Page 16.01 | NOTE: Any alteration will require it to be registered as Experimental-Amateur Built E-AB | |||||||||||
|
|
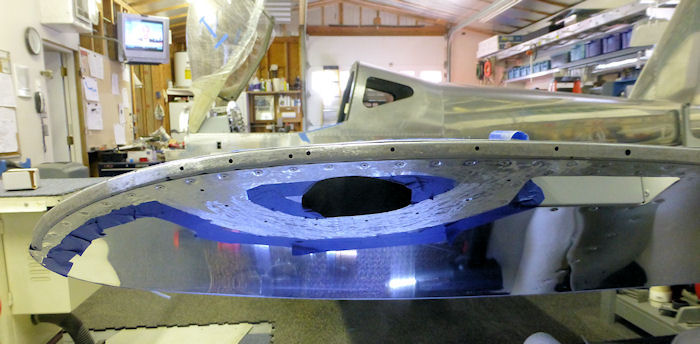
This alterations is to fiberglass the light to th wing | |||||||||||
| Step 01: Layout and
scuff all areas to be fiber glassed. Builders Note: Photos are from left and right wing. 04/08/17 |
 |
|||||||||||
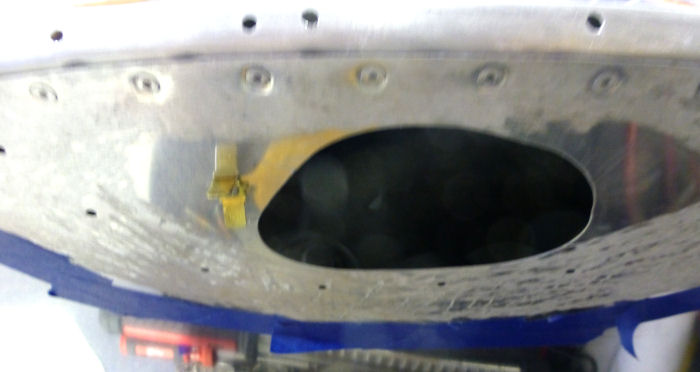
| Step 02 The
ground in this photo is not used, I tried not to use the wing as a
Ground. Builder Note: Open the hole in the wing to allow the light wires not to be cut by the wing skin. 04/08/17 |
 |
|||||||||||
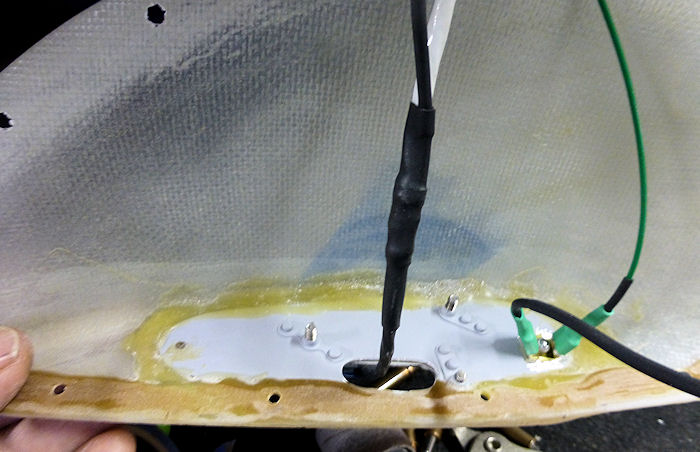
| Step 03: Scuff
and taper the outer edge to help bond the fiber galas to the aluminum
with a smooth transition. Install a backing plate with flush rivets plus nut-plates and add a ground clip to it. 03/31/17 |
 |
|||||||||||
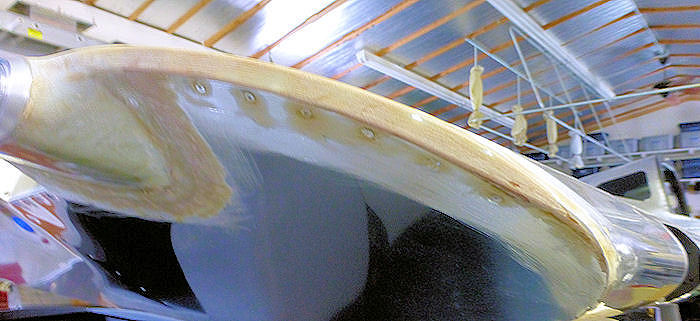
| Step 04:
Fiberglass the the modified wing light fairing to the wing as shown. 04/11/17 |
 |
|||||||||||
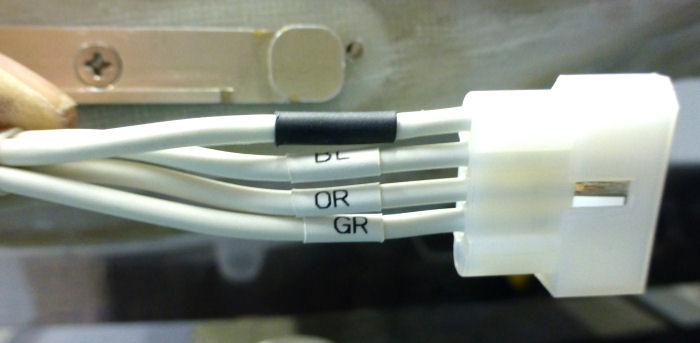
| Step 05: Label all
wires and use a 5 wire connector as shown 04/11/17 |
 |
|||||||||||
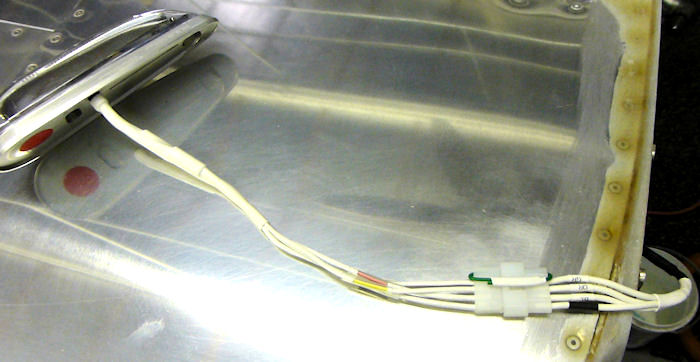
| Step 06: Connect the
light and use the open hole to safety wire the connection. 04/11/17 |
 |
|||||||||||
| Page 16.01 Making the Parts |
|
|
|
||||||||||
|
Disclaimer : Information contained on this Site may be out of date and /or inaccurate - Please Confirm any important data with a reliable source. |