
| Home | Empennage kit | Wing Kit | Fuselage Kit | Finish Kit | Power Plant Kit | Avionics | Paint | Interior | Home |
 |
|||||||||||
|
|||||||||||
| Home | Alterations | Vendors | Builders log | Home |
| Alteration 18 Garmin Virb |
|
|||||||||||
| Alteration18 Making the Parts | NOTE: Any alteration will require it to be registered as Experimental-Amateur Built E-AB | |||||||||||
|
|
This Alteration is to install a retractable Camera to the Tailcone |
|||||||||||
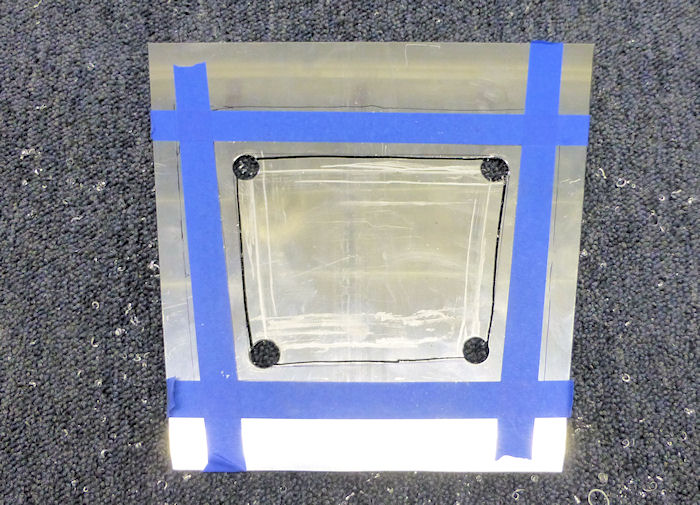
| Step 01: Layout
and make the backing flange for the tailcone access panel. The flange is cut on a matching angle of the tailcone bottom flange of the F-1282 Bottom Skins. Start Date 01/02/18 |
 |
|||||||||||
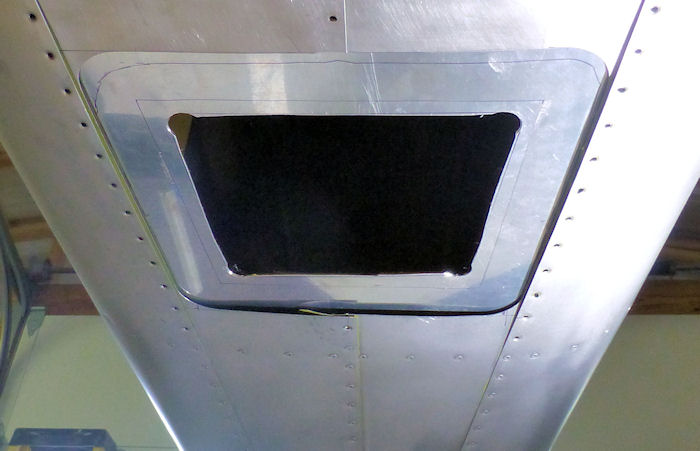
| Step 02: Layout
then cut out the F-1282 Bottom Skins and remove the rivets as Shown. Insert the Backing Flange, then match drill and cleco the holes of the bottom skins. 01/02/18 |
 |
|||||||||||
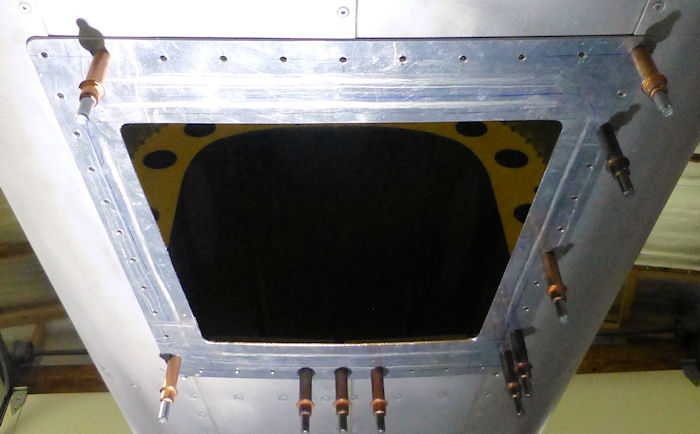
| Step 03: Remove
the Backing Flange then layout and drill the holes in the front and back
of the flange. Install the Flange on the outside of the tailcone and match drill the bottom skins, cleco as you go. 01/02/18 |
 |
|||||||||||
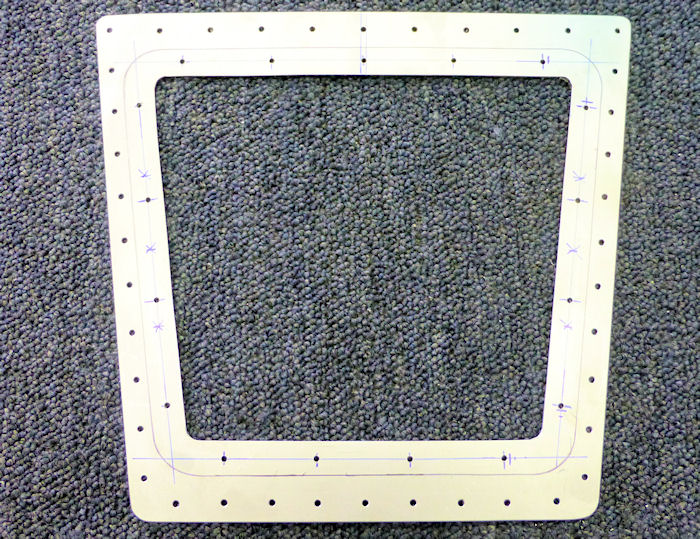
| Step 04:
Countersink the holes on the for the rivets. Lay out and drill the holes #30 for the 8/32 Nut Plates. Note: The #30 holes will be drilled out for the 8/32 screws after before the nutplates are installed. 01/03/18 |
 |
|||||||||||
| Step 05: Match Drill #30 the Nut Plate holes in the Cover Plate. |
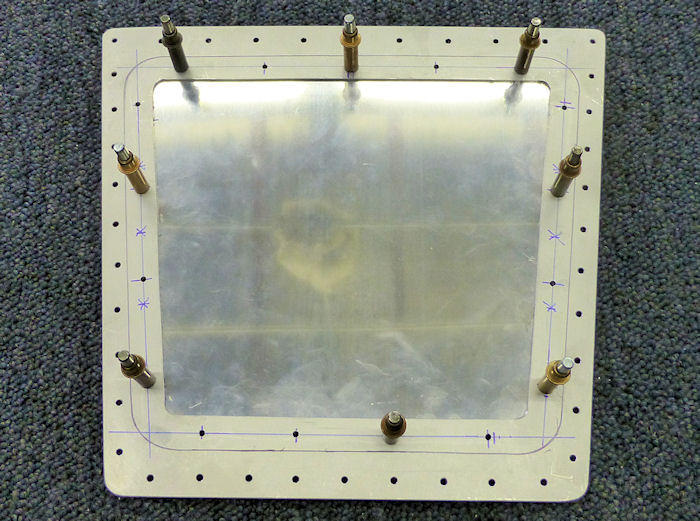 |
|||||||||||
| Step 06: This Cover
Plate will have a door installed in the center for a Garmin Camera 01/03/18 |
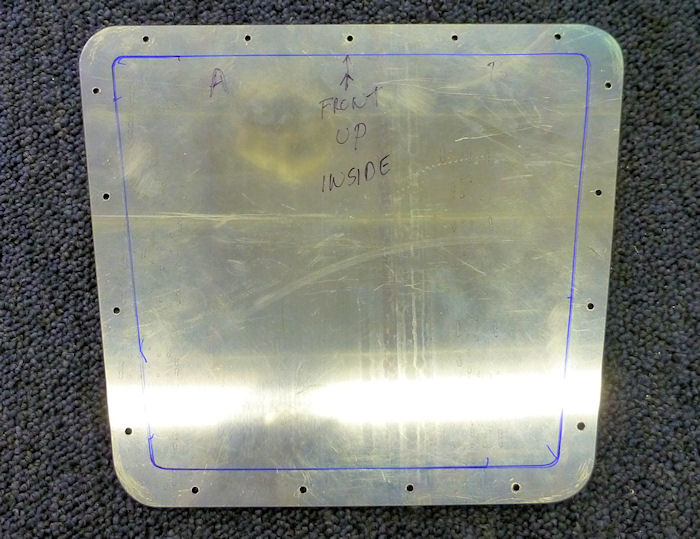 |
|||||||||||
| Step 07: Test
fit the parts in the tailcone. 01/03/18 |
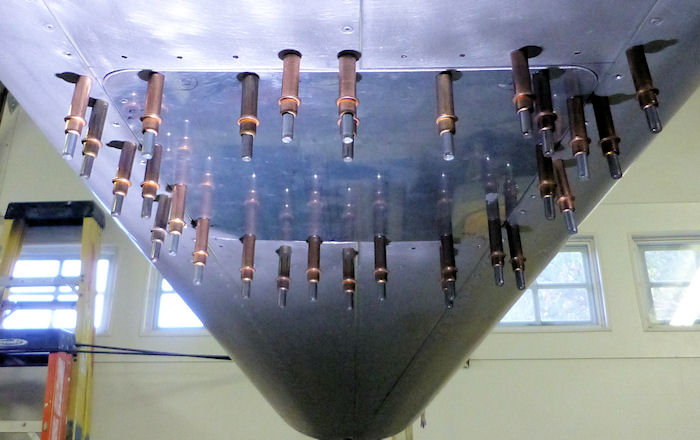 |
|||||||||||
| Step: 08: Add 8/32 Nutplates to the new camera door flange. | No Photo | |||||||||||
| Step: 09 Rivet the flange to the tailcone skins Cleco as you go. | No Photo | |||||||||||
| Page 18.01 Tailcone Camera |
|
|
|
||||||||||
|
Disclaimer : Information contained on this Site may be out of date and /or inaccurate - Please Confirm any important data with a reliable source. |